Packaging artwork proofs are the last checkpoint before ink meets substrate at scale. Miss one error at this stage and you may reprint thousands of units, delay a launch, or ship product with incorrect information on the panel. This guide walks procurement buyers through every layer of a final proof review, from dieline fit to panel-by-panel copy checks, so approval is a deliberate decision rather than a rubber stamp.
Why the Final Proof Deserves a Formal Review
A digital mockup looks clean on a monitor. A physical press proof reveals something different. Colors shift under different light sources, fine text becomes muddy at small point sizes, and bleed zones that look generous on screen can disappear under a knife tolerance. Treating proof approval as a formality is one of the most common and costly mistakes in packaging production.
The goal of a structured review is simple: confirm that every element on the approved file matches what will appear on finished units before the press runs. That confirmation should be documented, dated, and signed off by at least two people, typically a brand or compliance reviewer and the person managing the purchase order.
Start with the Dieline: Fit Before Copy
The dieline is the technical template that shows where a label or printed component will be cut, folded, scored, and positioned on the container. Before reading a single word of copy, verify the dieline version matches the container it will wrap.
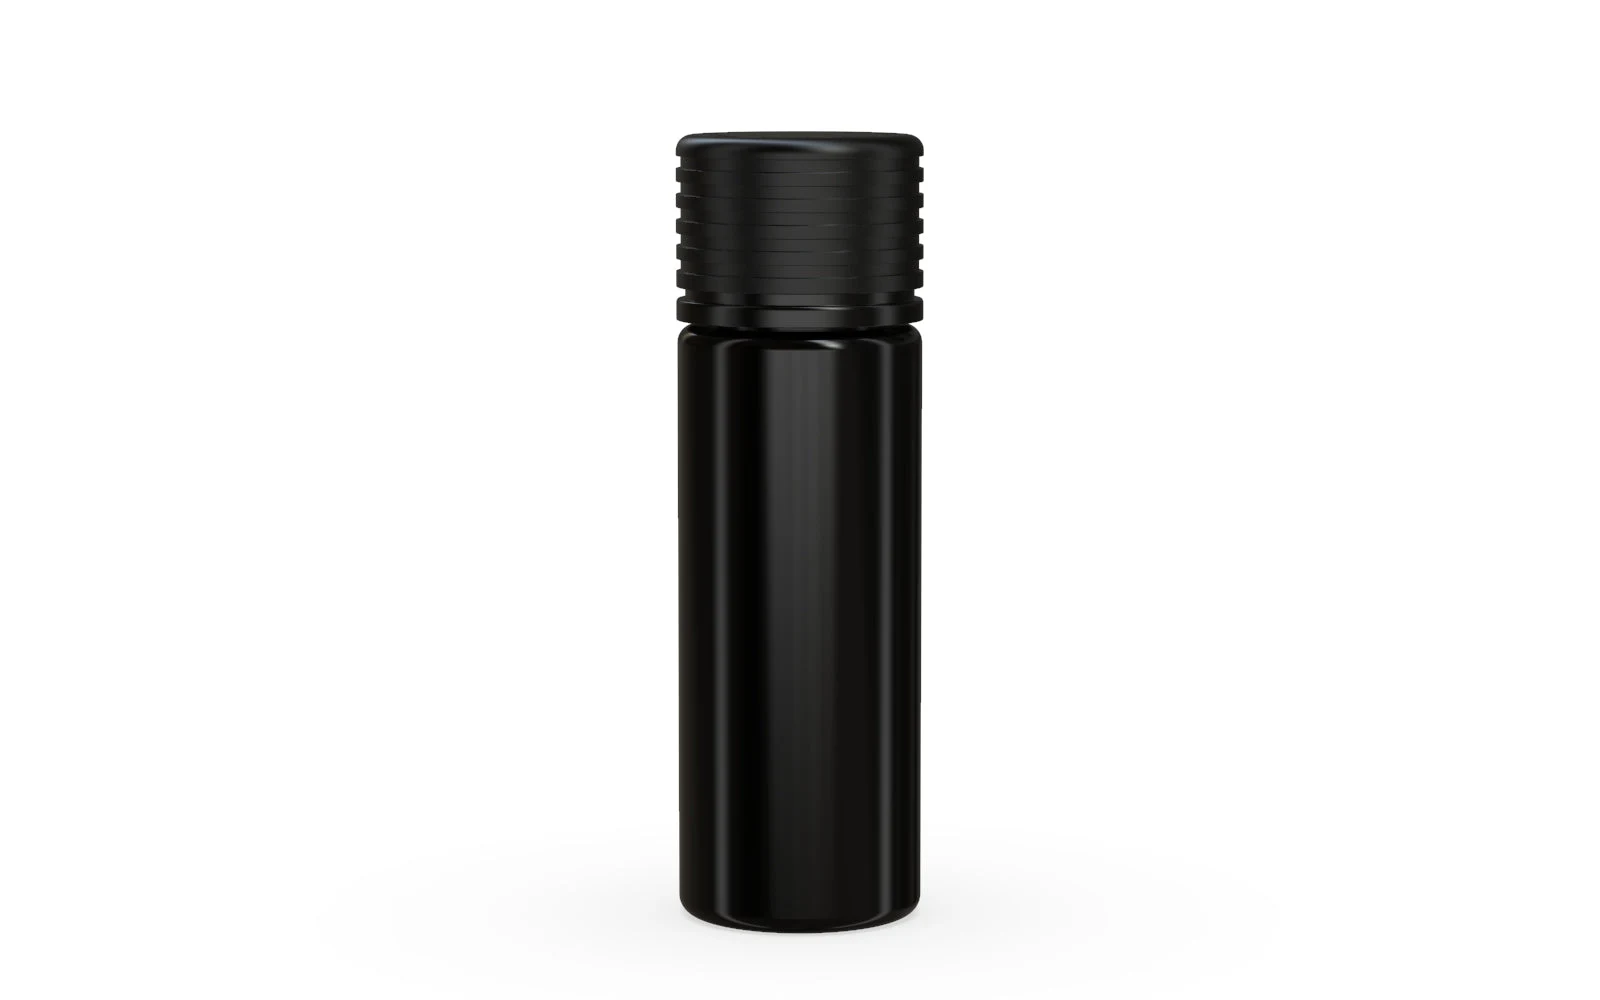
Check the dieline file name and revision number against the version your supplier confirmed. A container with a slightly different shoulder radius or a cap with a taller skirt can make a previously approved label fit incorrectly. If your brand uses 5ML clear glass concentrate containers with a straight base, confirm the dieline accounts for the exact sidewall height and any curved geometry at the top and bottom edges.
Ask your printer to confirm whether the dieline you are reviewing is the same version they will use to set up the job. Mismatched dieline versions are a common source of trim errors that only appear at finishing.
Adobe’s print-production guide describes tools for checking PDF output. These checks help you review a file. They do not replace a physical proof on the chosen stock.
Dimensions and Bleed: Checking the Numbers
Once the dieline is confirmed, check every printed dimension against the container spec sheet. For a wrap label on a cylindrical jar, the critical measurements are:
- Label height: Should not exceed the usable sidewall area between the base and the shoulder.
- Label circumference (width): Should allow for the specified overlap, typically measured in millimeters, without distorting the front panel artwork.
- Bleed extension: Most printers require artwork to extend 1/16 inch (approximately 1.6 mm) beyond the cut line so trimming does not leave a white edge. Confirm the bleed value matches your printer's specification, not a generic default from your design software.
- Safe zone: Critical text and logos should sit inside an inner boundary, often 1/8 inch (approximately 3.2 mm) from the cut line, to survive normal trim variation.
These numbers should appear in the proof file as guides or in a companion spec sheet. If they are missing, request them before signing off.
Printer-Confirmed Tolerances and What They Mean
Print and converting tolerances describe the acceptable range of variation during production. They are not errors. They are expected movement within a controlled process. A printer may quote a cut tolerance of plus or minus 1 mm, meaning a label that measures 100 mm wide in the file may be trimmed anywhere from 99 mm to 101 mm on any given unit.
Understanding tolerances matters because artwork positioned near the edge of the safe zone in the proof may land outside it on a portion of the run. Before you approve, ask your printer to confirm in writing:
- Cut tolerance for the label material and finishing method being used.
- Registration tolerance, the allowable shift between color layers on a multicolor print.
- Any substrate-specific behavior, such as whether the material stretches during lamination or application.
Hypothetically, if a printer states a cut tolerance of plus or minus 1.5 mm and your nearest legal copy sits 1 mm inside the cut line, that is a risk. Flag it and request a layout adjustment before approval, not after delivery.
Reviewing Packaging Artwork Proofs Panel by Panel
One of the most reliable ways to catch errors is to review packaging artwork proofs in a fixed sequence rather than scanning the whole layout at once. Assign a person to each panel and have them check only their assigned area. Then rotate the review so a second person covers the same panels.
Front panel: Brand name spelling, logo version, product name, net weight or volume statement, color accuracy compared to approved brand standards.
Back panel: Full ingredient or material list if applicable, directions, batch or lot code field placement (confirm the field is blank and positioned for on-demand printing if codes are added post-print), barcode placement and quiet zone.
Side panels: Any required regulatory statements should be verified by your compliance reviewer, not assumed from a previous version. Any icon or symbol, including any childproof or tamper-evident claim, must be confirmed accurate by the responsible party before approval. One caution: always have your legal or compliance contact confirm that regulated label copy meets current requirements in your jurisdiction before the proof is approved.
Top and bottom panels: Often overlooked. Check for any required text, brand marks, or fields that will be visible when units are stacked or displayed.
Spelling, Version Control, and Copy Accuracy
Spell-check tools miss correctly spelled wrong words. "Indica" and "Sativa" are both spelled correctly but are not interchangeable. Product names with unusual capitalization or proprietary terminology will not be caught by automated tools. Read every word aloud or use a two-person read-back method where one person reads the approved copy source and another reads the proof.
Version control deserves equal attention. Confirm the proof you are reviewing carries the correct file version number, matches the approved copy document, and supersedes any earlier drafts that may be in circulation. A clear naming convention, such as including the SKU, version number, and approval date in the file name, prevents the wrong version from reaching press.
Keep a written record of every proof version sent and returned, who reviewed it, what changes were requested, and what was approved. That record protects the brand if a discrepancy surfaces after the run.
Color and Visual Checks on Packaging Artwork Proofs
A soft proof on a calibrated monitor gives a reasonable preview of color. Adobe describes tools for checking PDF output before printing, which can help catch issues like missing fonts or incorrect color modes in a digital file. However, a software preview is not a substitute for a physical press proof when color accuracy is critical.
For brand colors defined in Pantone or similar spot-color systems, request a printed proof on the actual substrate before the full run. Coated and uncoated materials absorb ink differently. A color that reads as deep navy on a glossy label can appear closer to slate on an uncoated matte stock.
If you cannot receive a physical proof for a short-run or digital print job, at minimum confirm with the printer that color profiles are set correctly, that no RGB elements remain in a CMYK file, and that any spot colors are called out by name rather than visual approximation.
The Proof Approval Checklist
Use this checklist as a structured record for each proof review. File it with the purchase order.
Dieline and dimensions
- Dieline version confirmed against supplier spec
- Label height within usable sidewall range
- Label width and overlap confirmed
- Bleed meets printer specification
- Safe zone checked against printer-confirmed cut tolerance
Copy and version
- File version number matches approved copy document
- All panels spell-checked and read-back completed
- Product name, net weight, and brand name verified
- Batch or lot code field present and blank
- No copy carried over from a previous SKU or version
Compliance copy
- Regulated statements verified by compliance reviewer
- Any required icons or symbols confirmed accurate
- Jurisdiction-specific requirements reviewed by responsible party
Color and production
- Color mode confirmed (CMYK or spot, as specified)
- No RGB elements in print file
- Physical or digital proof reviewed against brand standards
- Printer has confirmed tolerances in writing
Sign-off
- Reviewer name and role recorded
- Approval date recorded
- Version approved clearly identified
- Proof file archived with purchase order
A Hypothetical Worked Example
Suppose a brand is launching a new concentrate SKU in a 5 mL jar. The artwork team sends a PDF proof labeled v3. The procurement buyer runs the checklist and finds that the back panel still shows the strain name from v2 and the bleed on the bottom edge measures 0.8 mm, against a printer-confirmed requirement of 1.6 mm.
The buyer returns the proof with two specific change requests: update the strain name and extend the bleed. The revised proof comes back as v4. The buyer and compliance reviewer each complete their assigned panel checks independently, then compare notes. Both approve v4, record their names and the date, and the file is released to press. This sequence is illustrative, not a Render process description, but it reflects the kind of documented review that prevents reprints.
What to Do When a Proof Fails Review
A failed proof is not a delay. It is the process working correctly. When a proof comes back with errors, document each issue with a specific description and the location on the layout. Vague feedback like "the colors look off" creates revision cycles. Precise feedback like "the PMS 289 on the front panel reads too light against the white background, please confirm ink density" moves the job forward.
If a proof fails more than once on the same element, consider whether the issue is a file problem, a communication gap on the spec, or a capability limitation of the printer or material. Sometimes a design element needs to change to suit the production process, not the other way around.
Next Steps for Your Proof Workflow
A repeatable proof review process saves time across every SKU you manage. Once your checklist is built and your team knows their roles, approvals move faster because everyone knows what to look for and what to document.
If you are sourcing containers alongside your label program, browsing the Render Packaging product catalog gives you a current view of jar, tube, cap, and concentrate container options. For custom packaging needs where the dieline, substrate, and print spec all need to align from the start, explore Render's custom packaging options to see how that coordination can be scoped.
The final proof is the last moment to catch what the press will commit to at full volume. Treat it that way.

