Ordering cannabis packaging samples before committing to a bulk run is one of the most practical steps a procurement buyer can take. A physical sample lets you verify that a jar, cap, and label work together as a system before you spend budget on thousands of units. This article walks through how to plan, execute, and document that sample test so the results are actually useful.
Why a Sample Test Is Worth the Time
A spec sheet tells you dimensions. A physical sample tells you whether those dimensions translate into a package you can actually fill, close, and label on your line.
Caps that look compatible on paper can torque differently under real conditions. Labels cut to the stated container circumference can still wrinkle at the seam. A sample run surfaces these problems cheaply, before they become a rework headache at scale.
The goal is a documented fit check: proof that your specific product, closure, and label work together under your operating conditions. That is all a fit check does. It does not establish child resistance, tamper evidence, or compliance with any regulatory requirement.
What to Prepare Before Samples Arrive
Have your materials ready before packaging samples land on your bench. Waiting until they arrive adds days and lets details slip.
Gather your fill product or a safe stand-in with similar weight and viscosity. Pull your current label artwork and confirm the cut size matches the container spec. Have a torque tool or at minimum a consistent hand-application method ready so you can close caps the same way each time.
Write down the pass criteria now, not after you see the results. Decide in advance what a good fill level looks like, how much label overlap you will accept, and whether any gap between a cap and jar shoulder is acceptable. Documenting criteria before testing keeps the evaluation objective.
How to Request Cannabis Packaging Samples Effectively
When you contact a supplier about cannabis packaging samples, be specific. Vague requests return generic samples that may not match your intended SKU.
Provide the exact product name and SKU you plan to order. State your intended fill weight or volume. Mention your label dimensions and whether you apply labels by hand or machine. Ask for samples of every component in the assembly: the jar body, the cap, and if applicable a plain or printed label substrate.
Requesting a small matched set, for example five jars with five caps and five label blanks, gives you enough units to run a real test without burning through too many samples. If the supplier offers more than one cap color or closure style for a given jar, ask for one of each so you can compare closure feel side by side.
Running a Documented Cannabis Packaging Sample Test
A documented sample test does not need to be elaborate. A one-page test record is enough.
Start by recording the sample details: supplier SKU, component descriptions, and the date received. Measure each component against the stated spec and note any variance. Even a millimeter of difference in jar diameter matters when you are cutting labels to fit.
Then run the fill. Use your intended fill method, whether that is a syringe, spoon, or automated filler, and fill each jar to your target weight. Note whether the jar opening is wide enough to fill cleanly and whether the shoulder geometry creates any pooling or void you did not expect.
Apply the cap. Record how many quarter-turns it takes to seat properly. Check whether the cap sits flush or cocks to one side. If the cap has a child-resistant mechanism, note whether it functions as described by the supplier. Remember that a functional check during in-house testing does not constitute a certified CR evaluation.
Apply your label. Smooth it from the center outward and check for air bubbles, wrinkles at the seam, and whether the label edges fall within the label zone (the flat or consistently curved area of the jar wall). Photograph the result from the front, back, and top.
Finally, check the closed package as a retail unit. Does it sit flat? Does the label read without tilting the jar? Would it stack without the cap deforming?
A Hypothetical Test Record: Illustrative Example
The following is a blank test-plan example. It does not claim that a particular product weight fits a stated jar volume, or report any Render test results. A jar’s ounce rating alone does not tell you how much flower it will hold.
Sample set: Record the exact jar and cap codes, supplier lot, sample count and label version. Check that the sample parts match the proposed order. Keep one unused set as a reference.
Fill check: Use the intended product and fill target in a controlled sample test. Record the actual amount, fill level and room needed for the closure. Note whether the contents touch the sealing area or prevent the cap from seating. Do not infer a pass from another brand’s pack.
Closure check: Follow the supplier’s closing instructions. Record any tilt, binding, incomplete seal or issue with normal opening and reclosing. This check does not establish child resistance or replace required testing of the full pack.
Label check: Use a measured paper mock-up first, then the planned label stock. Record panel clearances, seam position and any lifting. Confirm required copy and barcode layout with the responsible reviewers. A quick scanner read does not establish a barcode size standard.
Decision record: Leave the result blank until the test is done. Record what passed, what needs a change and who can approve the next step. If the label needs a new size, revise the dieline and test the new proof on the same sample.
Keep photos and notes with the exact part codes. A test record is useful because it shows what you checked and what remains open. It is not a substitute for the supplier’s specifications or applicable certification.
Checking Cannabis Packaging Samples: A Practical Checklist
Use this checklist each time you evaluate a new component set.
Before testing
- Confirm sample SKUs match the intended bulk order SKUs
- Verify stated dimensions against your label artwork file
- Set pass/fail criteria in writing before you begin
Fill check
- Fill to target weight using your production method
- Confirm opening width allows clean fill without spillage
- Note headspace remaining after fill
Closure check
- Seat cap using your standard application method
- Check for flush fit and consistent torque
- Confirm the closure mechanism functions as supplier-described
- Document any variation across the five units
Label check
- Apply label from center outward
- Inspect for bubbles, wrinkles, and edge lifting
- Confirm label falls within the flat label zone
- Verify all required panel elements are visible and not cut off
Retail presentation check
- Confirm the closed unit sits flat
- Check stackability if shelf or bin stacking is part of your display plan
- Photograph front, back, and top for your records
Documentation
- Complete your test record before moving samples to storage or disposal
- Note any artwork revisions needed before bulk order
Label Sizing During the Cannabis Packaging Sample Stage
Label sizing is one of the most common things buyers get wrong before a bulk order. The sample stage is the right moment to catch a mismatch.
Avery advises measuring the actual container when choosing a label size, not relying only on the listed spec. Container dimensions can vary slightly between batches or suppliers, and a label sized to the spec sheet rather than the physical jar can result in a gap or an overlap you did not plan for.
Wrap a flexible tape measure around the widest labeled area of the jar and compare it to your label circumference. Do the same vertically: measure the usable label zone height, which is the area between the base curve and the shoulder curve where the wall is consistently flat enough to accept a label without lifting.
If your artwork is already set, a small trim, often just a few millimeters, can make the difference between a clean wrap and a wrinkled seam. Flag any revision needed during the sample stage so your print run is sized correctly.
For concentrated or small-format products, label geometry becomes even more constrained. Lid labels and sidewall labels on small containers compete for space with required regulatory copy, and the sample stage is where you discover that a design element needs to move before plates are cut or digital print files are locked.
A reminder: confirm all required label copy and regulatory panel content with your compliance reviewer. Label fit testing and compliance review are separate steps.
Tradeoffs Worth Noting During Sample Evaluation
A sample test sometimes reveals a tradeoff rather than a clear pass or fail.
A jar with a wider opening may be easier to fill by hand but harder to label cleanly because the shoulder curve starts higher on the wall. A taller cap may add a premium look but reduce how many units fit in a display case. Noting these tradeoffs during sample testing lets you make an informed choice rather than discovering them after a bulk order arrives.
If your label machine applies labels at speed, test the sample label under those conditions, not just by hand. A label that applies perfectly by hand can bubble or skip when run at production speed on a curved substrate.
Document the tradeoffs alongside the pass/fail result. The person who places the bulk order may not be the same person who ran the sample test, and a clear record prevents decisions from being revisited after the order is locked.
Moving from Sample Approval to Bulk Order
Once your sample set passes your internal criteria, capture the approval in writing before the sample documentation gets filed away.
Record which SKUs were tested, who reviewed the results, the date of approval, and any artwork revisions required before the bulk order. Attach your photographs. This record becomes the baseline against which you compare components when the bulk delivery arrives.
If any component failed or required a revision, run a second sample round with the corrected component before committing to full quantity. A second sample pass costs far less than a rework on a bulk order.
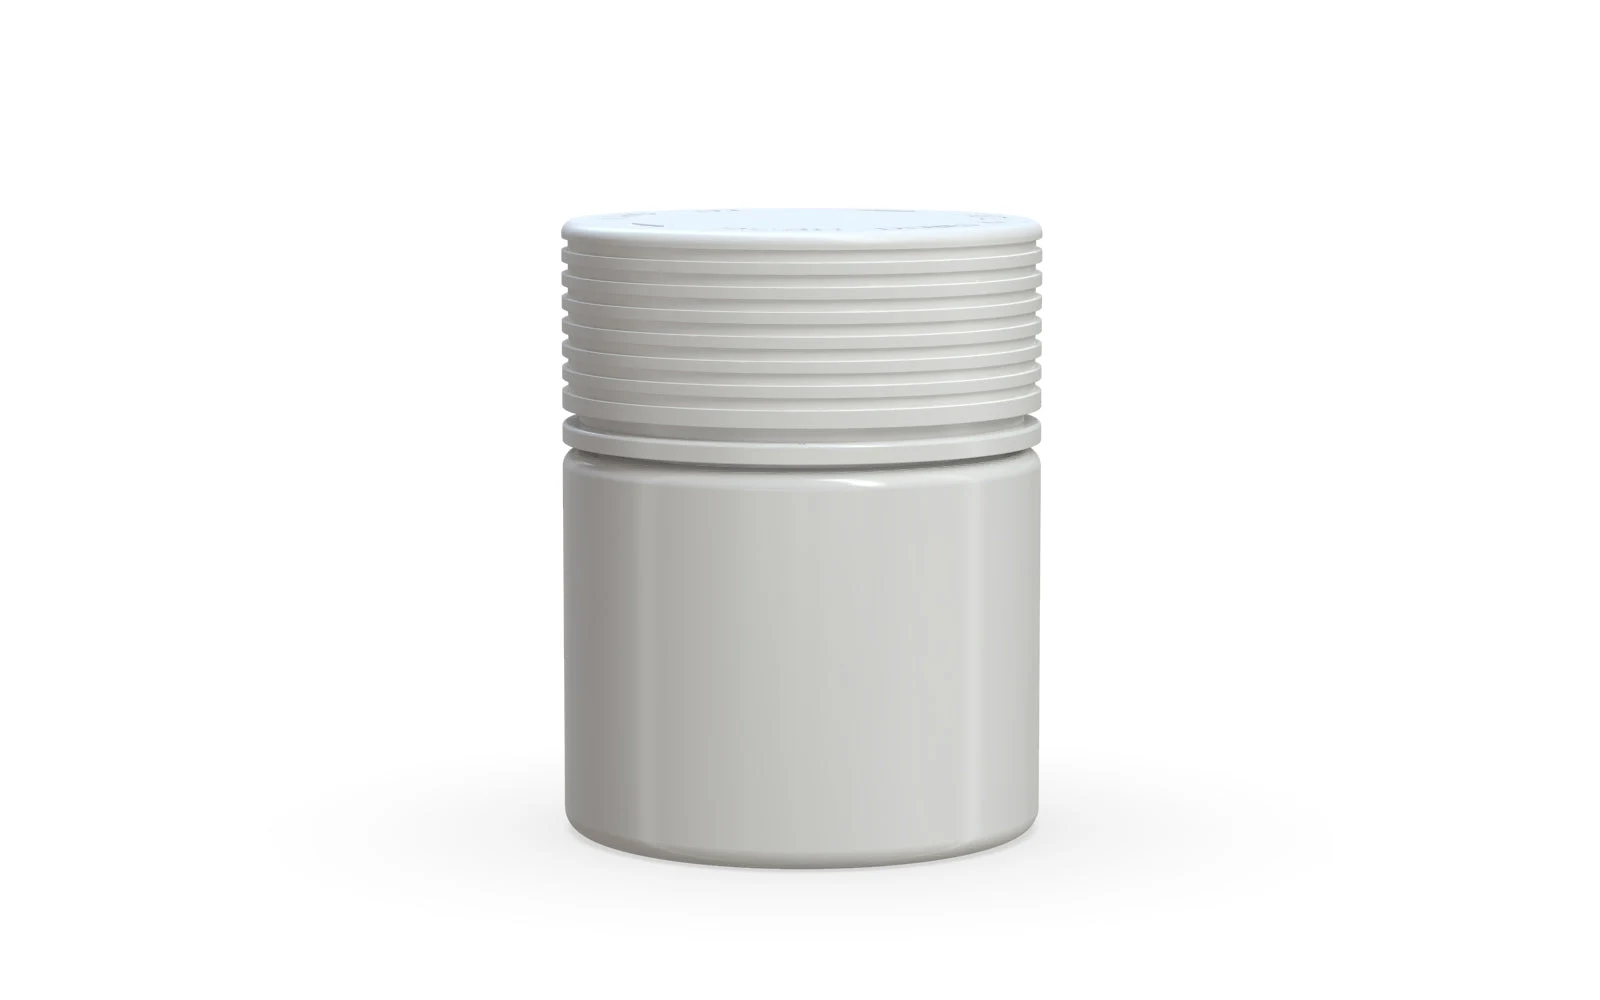
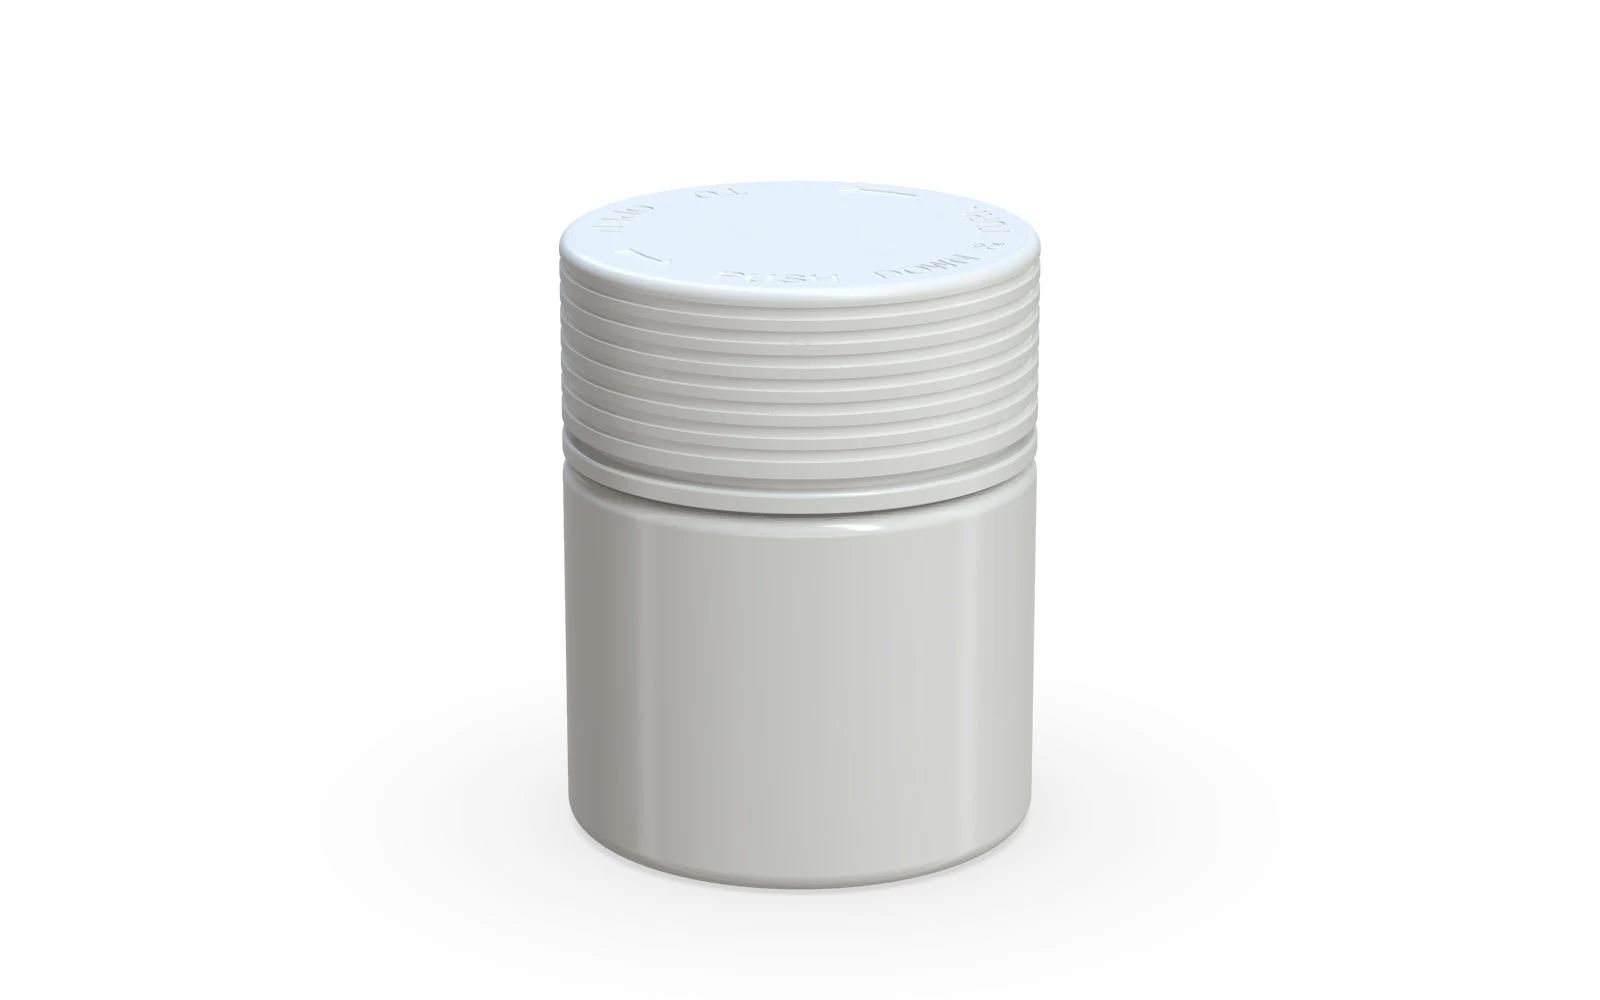
Browse the Render Packaging product catalog to identify the jar, cap, and container SKUs you want to sample. If your brand requires custom colors, finishes, or printed packaging, the custom packaging page is the place to start that conversation. The Chubby Gorilla 3 oz White Jar with Spiral CR White Cap is one example of a container and closure sold as a matched set, which simplifies the sample request when you need a coordinated assembly from the start.
Contact the Render team with your SKU list, fill details, and label dimensions so the sample request is matched to your actual application from the start.

