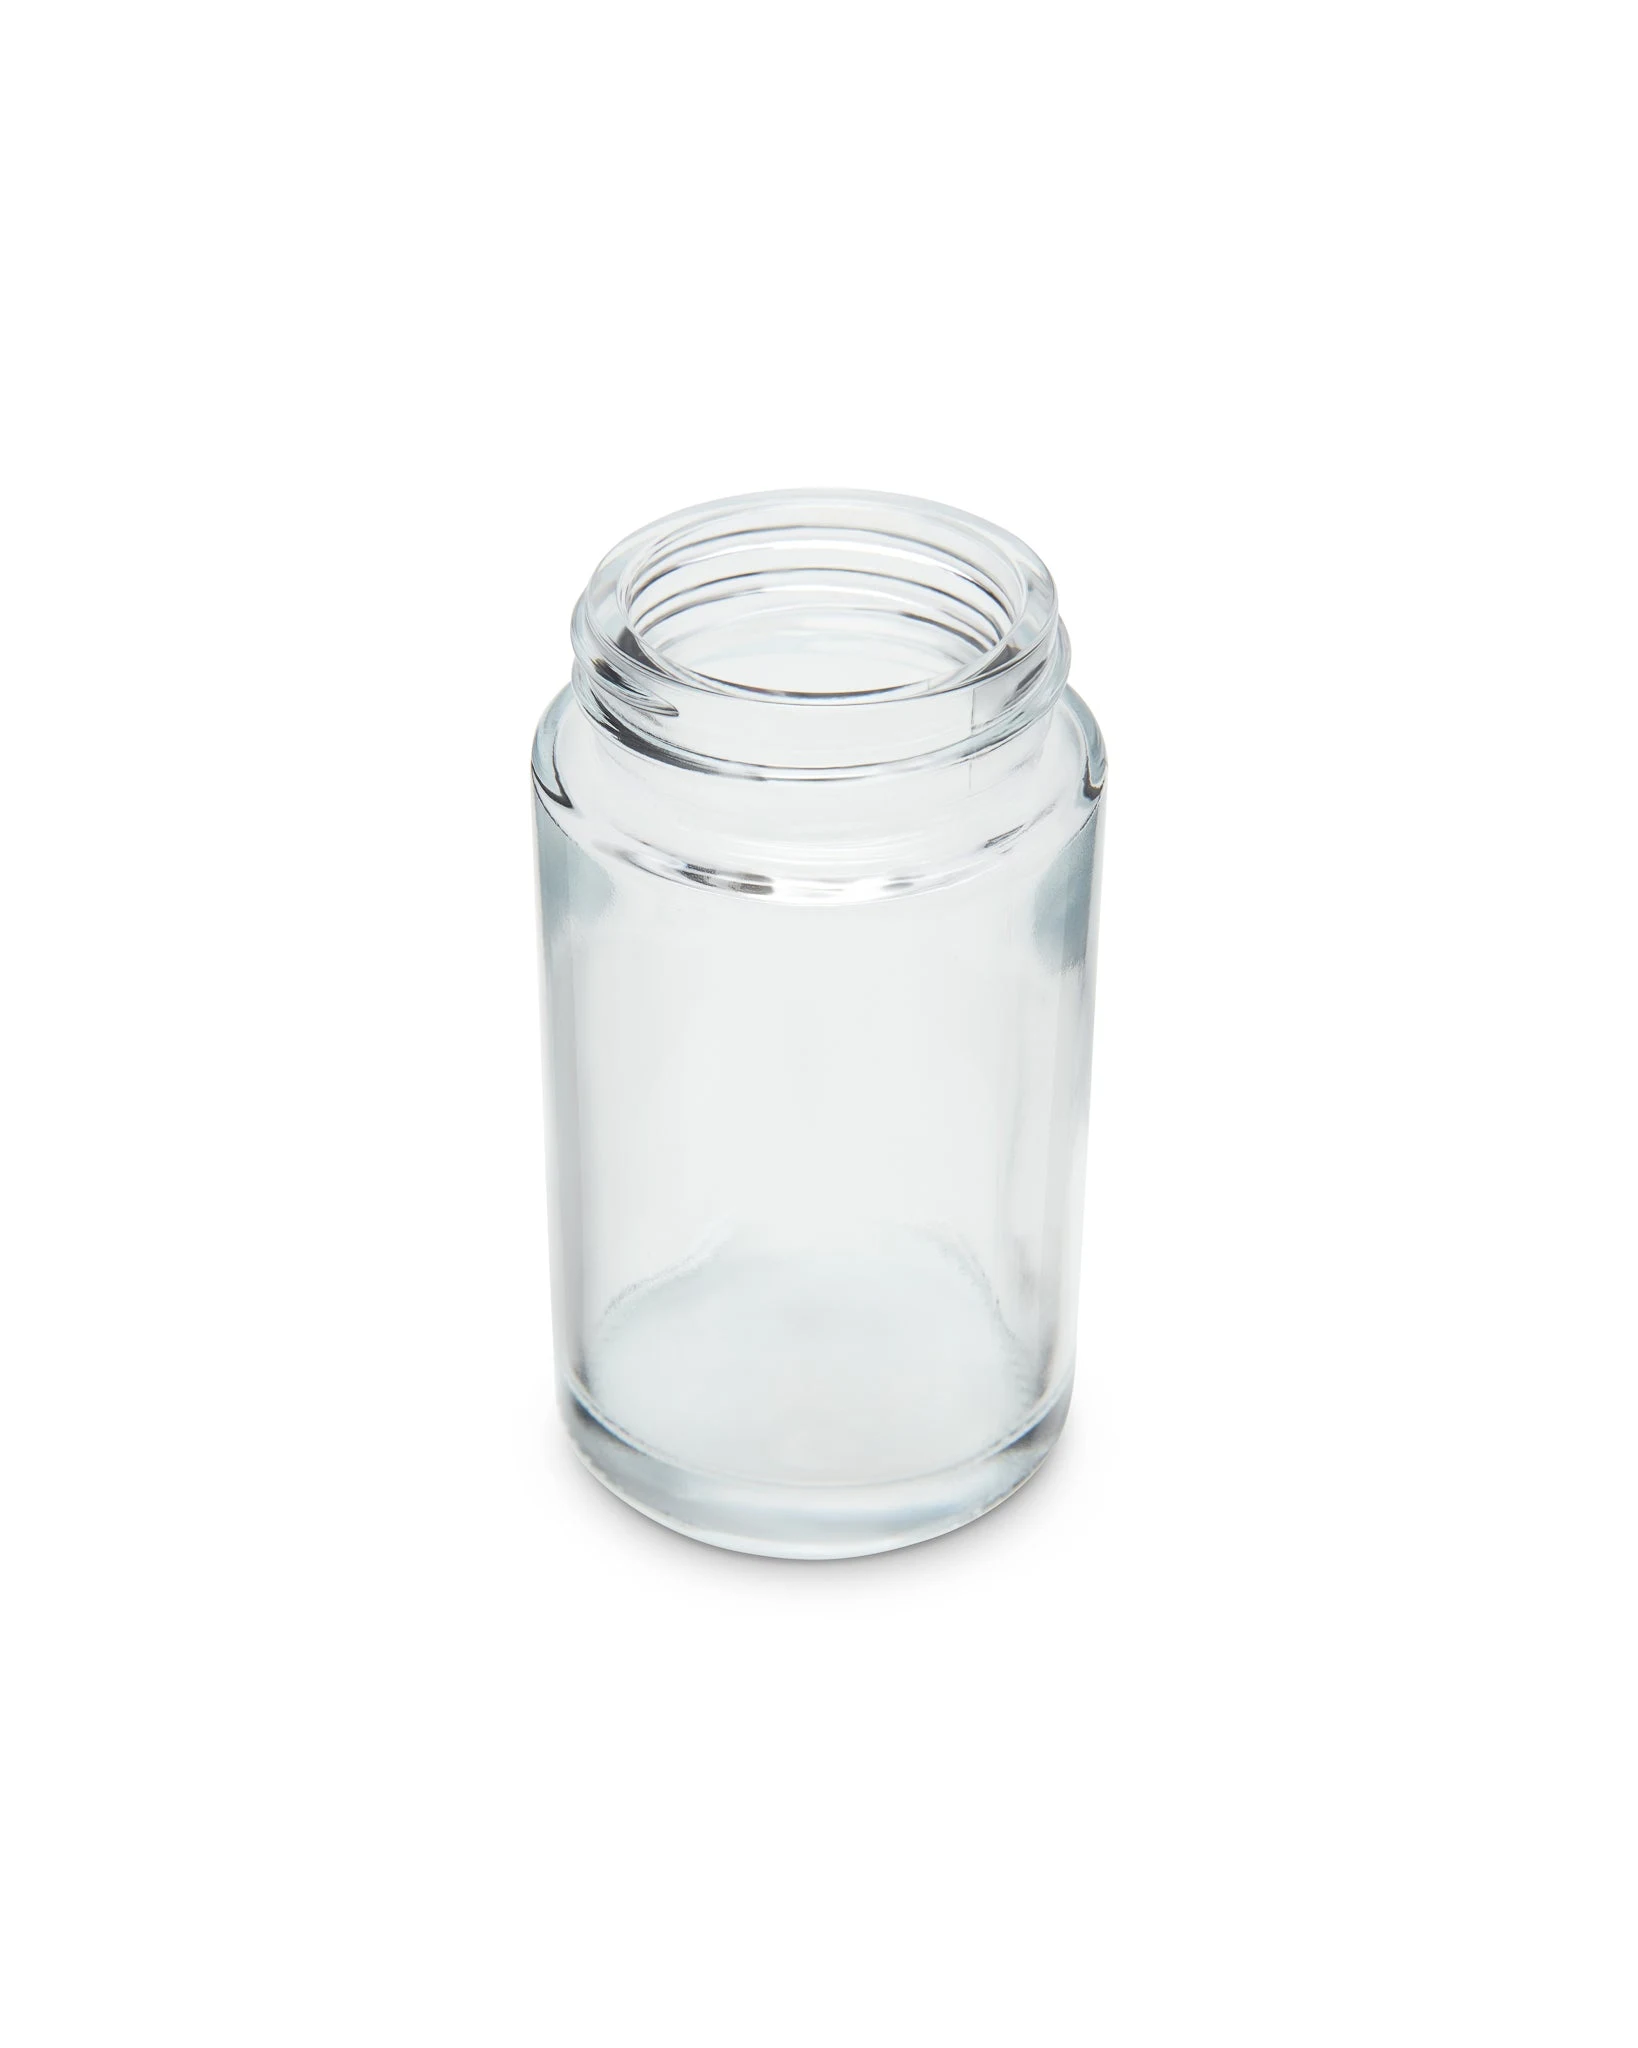
Jar label measurements determine whether your printed label fits cleanly on a curved container without buckling, lifting, or running into a seam. Getting them right before you order labels saves reprints, production delays, and wasted stock. This guide walks through every dimension a packaging buyer needs to capture, from the usable flat panel to shoulder clearance, and shows how to confirm fit with a paper mock-up before committing to a label run.
Why Curved Containers Complicate Label Sizing
A flat label applied to a curved surface behaves differently than it does on a flat substrate. The label must conform to the curve without creating excess material at the edges. If the label is too wide, the leading and trailing edges buckle or lift. If it is too tall, the label rides up onto the shoulder taper or drops onto the base bevel, where adhesion weakens and the label can peel.
Glass jars used for flower, pre-rolls, or concentrate add another variable: the seam. Most glass jars have a vertical mold seam running from base to shoulder. A label that crosses the seam on a rigid glass surface can develop a slight ridge that lifts the label edge over time.
The Five Dimensions That Define Jar Label Measurements
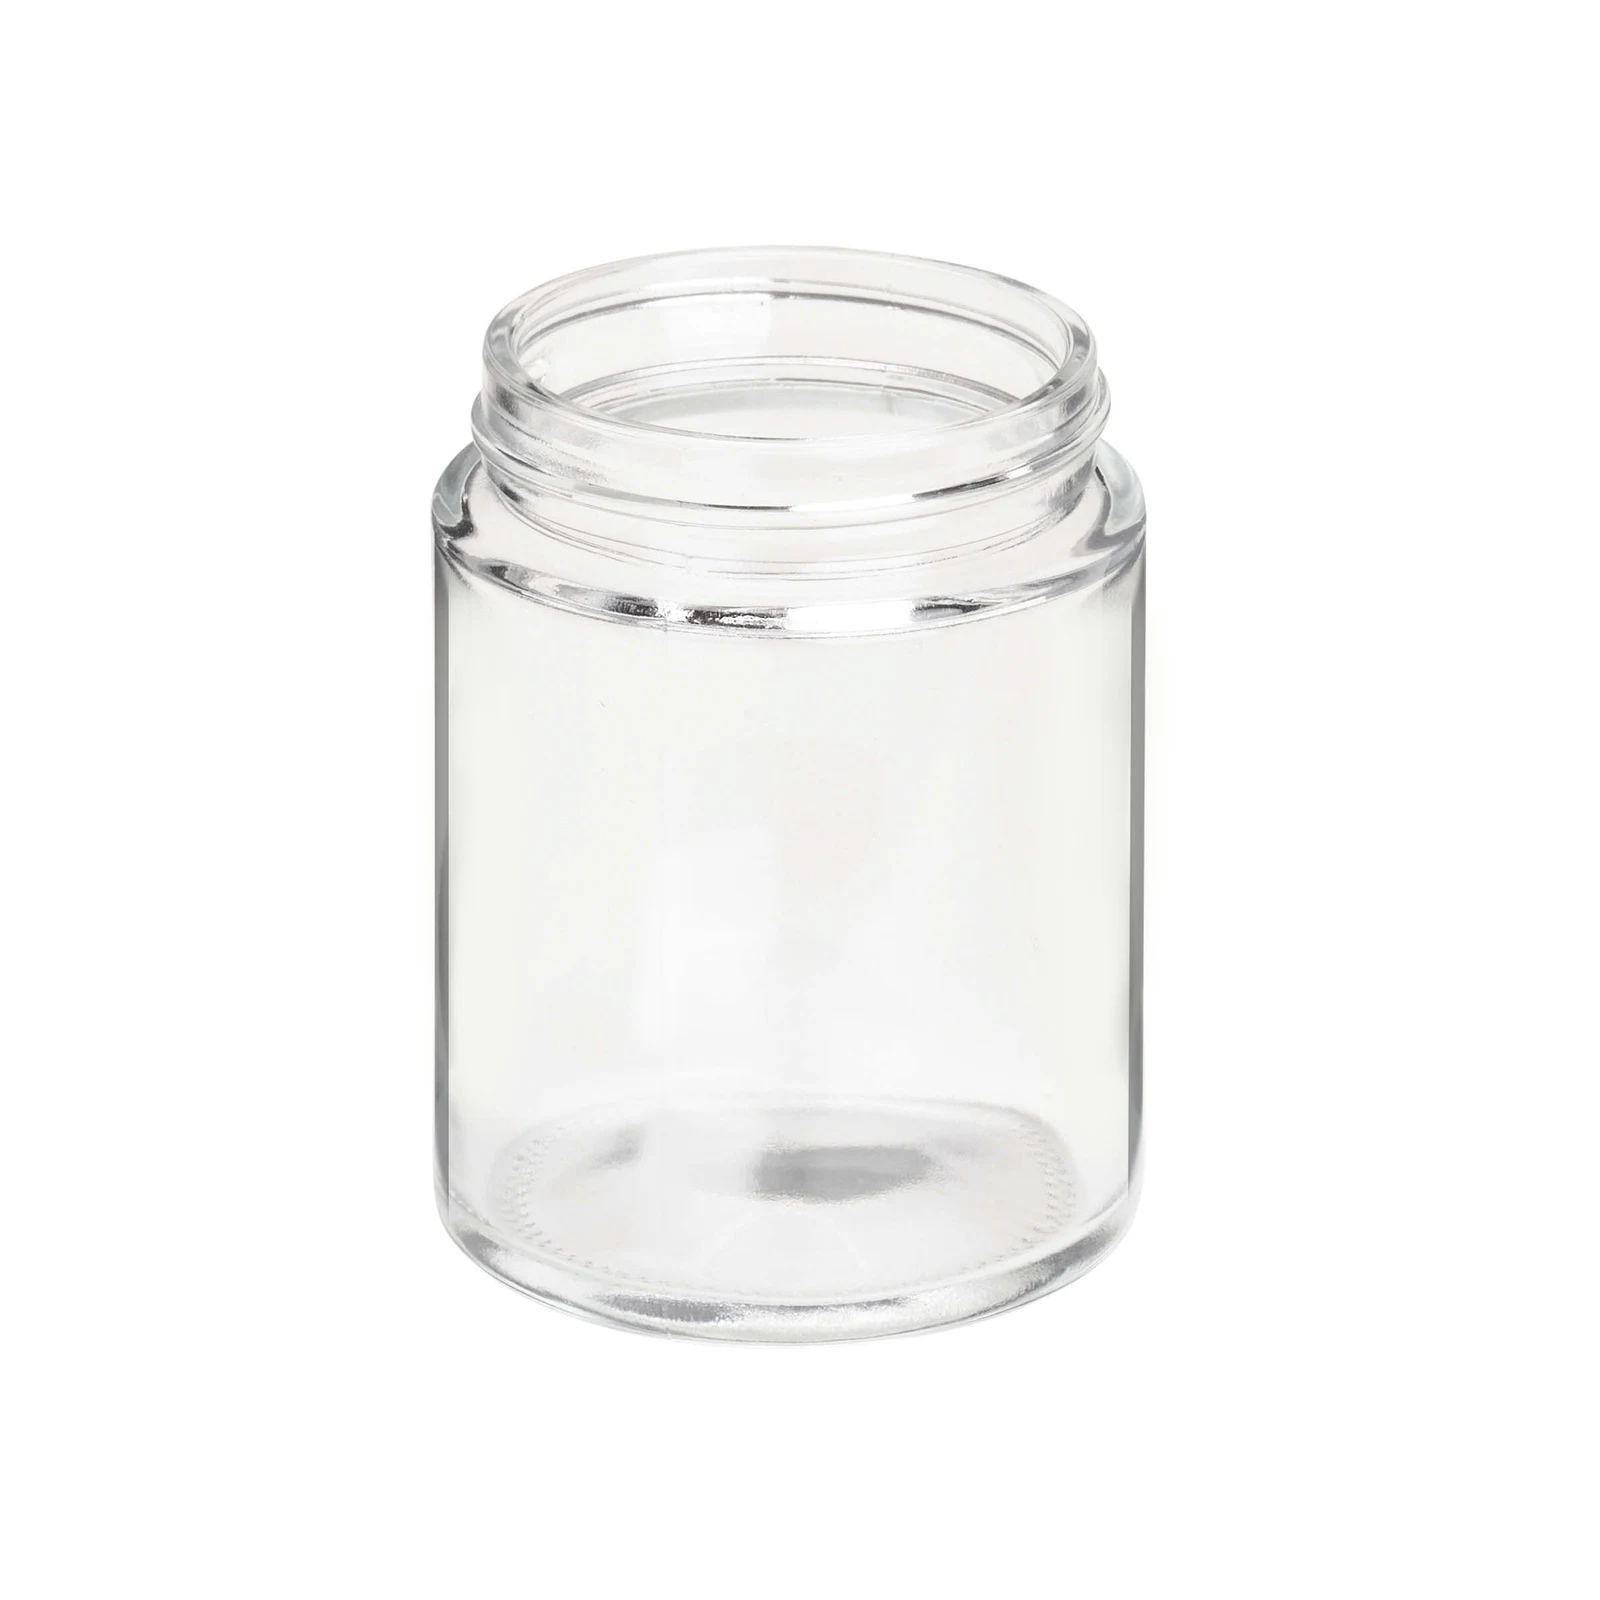
Before you open a design file, collect five physical measurements from an actual production jar. As Avery advises when choosing a label size, measure the actual container rather than relying on nominal spec sheet figures.
1. Circumference. Wrap a flexible measuring tape or a strip of paper around the widest point of the jar body. Mark the overlap point and measure the length. This is the full circumference, not the usable label width. You will subtract from this number in the next steps.
2. Usable flat panel width. For a straight-sided jar, the usable width is the circumference minus the seam gap (see below) and any minimum overlap allowance. For a jar with a slight taper, the usable width at the narrowest point of the label zone sets the ceiling. Do not design to the widest point if the jar tapers even slightly.
3. Seam gap. Identify the vertical mold seam on the jar. On most glass jars, it is a faint raised line. A label that terminates at the seam rather than crossing it sits flatter and adheres more evenly. Allow at least 3 mm of clearance on each side of the seam as a working rule. The total seam gap deduction from circumference is therefore roughly 6 mm, though you should measure your specific jar.
4. Shoulder clearance. The shoulder is the curved transition between the jar body and the neck or lid thread. Labels placed too high will curve upward with the shoulder, creating a lifting edge. Measure from the base of the shoulder curve down to where the sidewall becomes fully vertical. Keep the top edge of your label at least 3 mm below that transition line.
5. Base clearance. The base bevel is the rounded edge where the sidewall meets the bottom. Labels that extend into the bevel lift at the bottom edge. Measure from the bottom of the label zone up to where the sidewall begins to curve inward. Again, 3 mm of clearance is a reasonable working minimum; your jar may require more.
Capturing Taper on Non-Straight-Sided Jars
Straight-sided jars are the simplest case. If your jar has a body taper, the diameter changes from shoulder to base, and the usable label width changes along with it.
To capture taper, measure the circumference at three heights: just below the shoulder clearance zone, at the midpoint of the label zone, and just above the base clearance zone. Use the smallest of the three measurements to set your maximum label width. A label designed to the widest measurement will be too wide at the narrowest point and will buckle there.
Record all three measurements in your jar specification sheet alongside the jar SKU. This makes re-ordering or switching suppliers much simpler because you have a documented basis for your label dimensions.
Completing Jar Label Measurements: A Step-by-Step Checklist
Use this checklist on a physical jar before sending a brief to your label printer.
- Confirm the jar is the correct production SKU, not a sample from a different batch or supplier
- Measure full circumference at the widest point of the label zone
- Identify and mark the mold seam location
- Subtract seam gap allowance (minimum 6 mm total) from circumference to get usable label width
- If the jar tapers, measure circumference at top, middle, and base of label zone; use the smallest
- Measure shoulder clearance from the base of the shoulder curve to the top of the usable label zone
- Measure base clearance from the top of the base bevel to the bottom of the usable label zone
- Calculate usable label height as the distance between the shoulder clearance line and the base clearance line
- Record all dimensions on the jar SKU specification sheet
- Repeat measurements on three separate jars to check for manufacturing variation
Manufacturing variation in glass jars is real. Wall thickness, mold alignment, and forming temperature all affect the final diameter. Measuring one jar and assuming all jars match is a common source of label fit problems at scale.
A Hypothetical Worked Example
The following example is illustrative. All numbers are hypothetical and do not represent Render Packaging quotes, product data, or test results.
Suppose a brand is evaluating a straight-sided 2 oz glass jar for a pre-roll SKU. A buyer measures three jars pulled from the same case.
Full circumference at mid-body: 148 mm, 149 mm, 148 mm. The buyer uses 148 mm as the conservative figure. Seam gap deduction: 6 mm. Usable label width: 142 mm.
Shoulder clearance zone ends 5 mm below the shoulder curve. Base clearance zone starts 4 mm above the base bevel. The total sidewall height between the two clearance lines measures 52 mm across all three jars. Usable label height: 52 mm.
The buyer's label brief therefore specifies 142 mm wide by 52 mm tall. The designer leaves 2 mm of safe zone inside that rectangle to avoid any dimension creep from printing tolerance. The final art area is 138 mm by 48 mm in this illustration. The printer must confirm the actual cut and placement allowances before approval; this example does not set a standard margin.
This is a hypothetical scenario. Your jar dimensions will differ. Always measure your specific containers.
Making a Paper Mock-Up Before You Order Labels
A paper mock-up costs almost nothing and catches problems that measurements alone can miss. Print the proposed label dimensions on standard paper or cardstock, cut it to size, and wrap it around the jar with a small piece of tape.
Check the following on the mock-up:
- Does the top edge sit below the shoulder curve on all sides?
- Does the bottom edge clear the base bevel on all sides?
- Does the mock-up lay flat without buckling along the vertical edges?
- Is the seam gap maintained so the paper edges do not cross the mold seam?
- When the jar rotates, does the label panel read cleanly without distortion?
If any check fails, adjust your dimensions and repeat the mock-up. It is far cheaper to iterate on paper than to reprint a label run.
A mock-up also helps you preview how much of the jar circumference is covered by the label. A label that covers more than roughly 80 percent of the circumference on a glass jar can create adhesion stress as the label tries to wrap past its natural flat limit. The right percentage depends on label material and adhesive, but the mock-up reveals the visual and mechanical behavior before you commit.
Accounting for Label Material and Adhesive Thickness
Most label discussions focus on the printed face stock, but material thickness and adhesive type affect fit on curved surfaces. A thick pressure-sensitive label stock with a permanent adhesive may bridge across the mold seam more aggressively than a thinner stock. A removable adhesive may lift sooner in a humid retail environment.
These are decisions for your label printer, but the packaging buyer should provide the measured jar dimensions as part of the material brief. The printer's substrate recommendation may change based on the jar circumference and any taper. Tighter curves require more flexible face stocks.
Ask your label printer for a fit confirmation on the actual jar before approving the full run. Provide them with three sample jars from your production stock, using the same SKU you will run. This step sits outside the scope of artwork approval and print proofing; it is specifically about dimensional fit and adhesion behavior on the physical container.
Lid and Cap Label Considerations
Some cannabis jar SKUs carry a secondary label on the lid or cap. Lid label measurements follow the same logic: measure the flat usable surface of the lid top, subtract any clearance from the outer edge where the lid curves downward, and confirm the label does not extend onto the side wall of the cap.
For child-resistant closures, be aware that the mechanism relies on the cap geometry. A label that wraps onto the cap sidewall can interfere with the tactile indicators or friction surfaces of the closure. Confirm label placement on child-resistant caps with your compliance reviewer. This is not a fit check that packaging measurement alone can resolve; regulatory requirements govern child-resistant closure performance, and your responsible reviewer should confirm the label placement is acceptable.
Applying These Measurements Across Multiple SKUs
Brands with multiple jar sizes or formats need a measurement record for each jar SKU. A single shared label template almost never works across multiple container geometries. Each SKU gets its own measured dimensions, its own paper mock-up sign-off, and its own label specification sheet.
When you add a new jar SKU to your assortment, run the full measurement checklist on that container before briefing your label printer. Jar dimensions from a supplier spec sheet are nominal figures. Actual production jars can vary from nominal by 1 mm to 3 mm in diameter, which translates to a meaningful change in circumference and usable label width.
Browse the Render Packaging product catalog to review the jar formats currently available, then pull physical samples to measure before finalizing your label specifications.
Where to Go From Here
Accurate jar label measurements are the foundation of a clean label program. They protect your label print budget, reduce adhesion failures on the retail shelf, and give your label printer a clear brief to work from.
If you are sourcing jars and need to align container geometry with your label program from the start, the 2 oz Wide Mouth Straight Sided Clear Glass Jars are a format worth measuring against your current label specification. Straight-sided geometry simplifies the circumference calculation and eliminates taper as a variable.
For brands working across multiple formats or exploring custom packaging options, reach out to Render Packaging with your jar SKU list and current label dimensions. Providing complete measurement data from the start speeds up the conversation and reduces back-and-forth before sampling.
The physical jar is always the primary reference. Measure it, mock it up, confirm fit, then brief your printer.

