Label adhesion on cannabis jars determines whether your finished product looks professional on the shelf or arrives at a dispensary with peeling edges and wrinkled faces. A label that lifts, bubbles, or creases after placement wastes material, delays order fulfillment, and can trigger compliance re-work if regulated copy becomes unreadable. Testing adhesion before a full production run is straightforward. It requires attention to surface prep, material selection, placement conditions, and handling.
This article walks through a practical adhesion test record you can run in-house. It covers each variable in sequence so your team captures the right data before committing to a label spec or a bulk order.
Why Label Adhesion Fails on Glass Jars
Glass jars are common in cannabis packaging. They are rigid, inert, and easy to inspect. But glass presents specific adhesion challenges. The surface is non-porous, so glue cannot penetrate it. Any residue, moisture, or surface treatment creates a barrier between the glue and the glass.
Curved sidewalls add mechanical stress. A label that spans a curved surface is under constant tension at its edges. That tension slowly pulls the glue away from the glass. Narrow-diameter jars make this worse.
Tall labels on small jars are especially prone to lifting at the top and bottom edges. Lid labels face a different problem. Flat surfaces are easier for glue to contact, but lids often have embossed rings or center domes. These prevent full contact in the middle of the label and can trap moisture, causing the label to lift outward from the center.
Surface Preparation as a Starting Point for Strong Label Adhesion
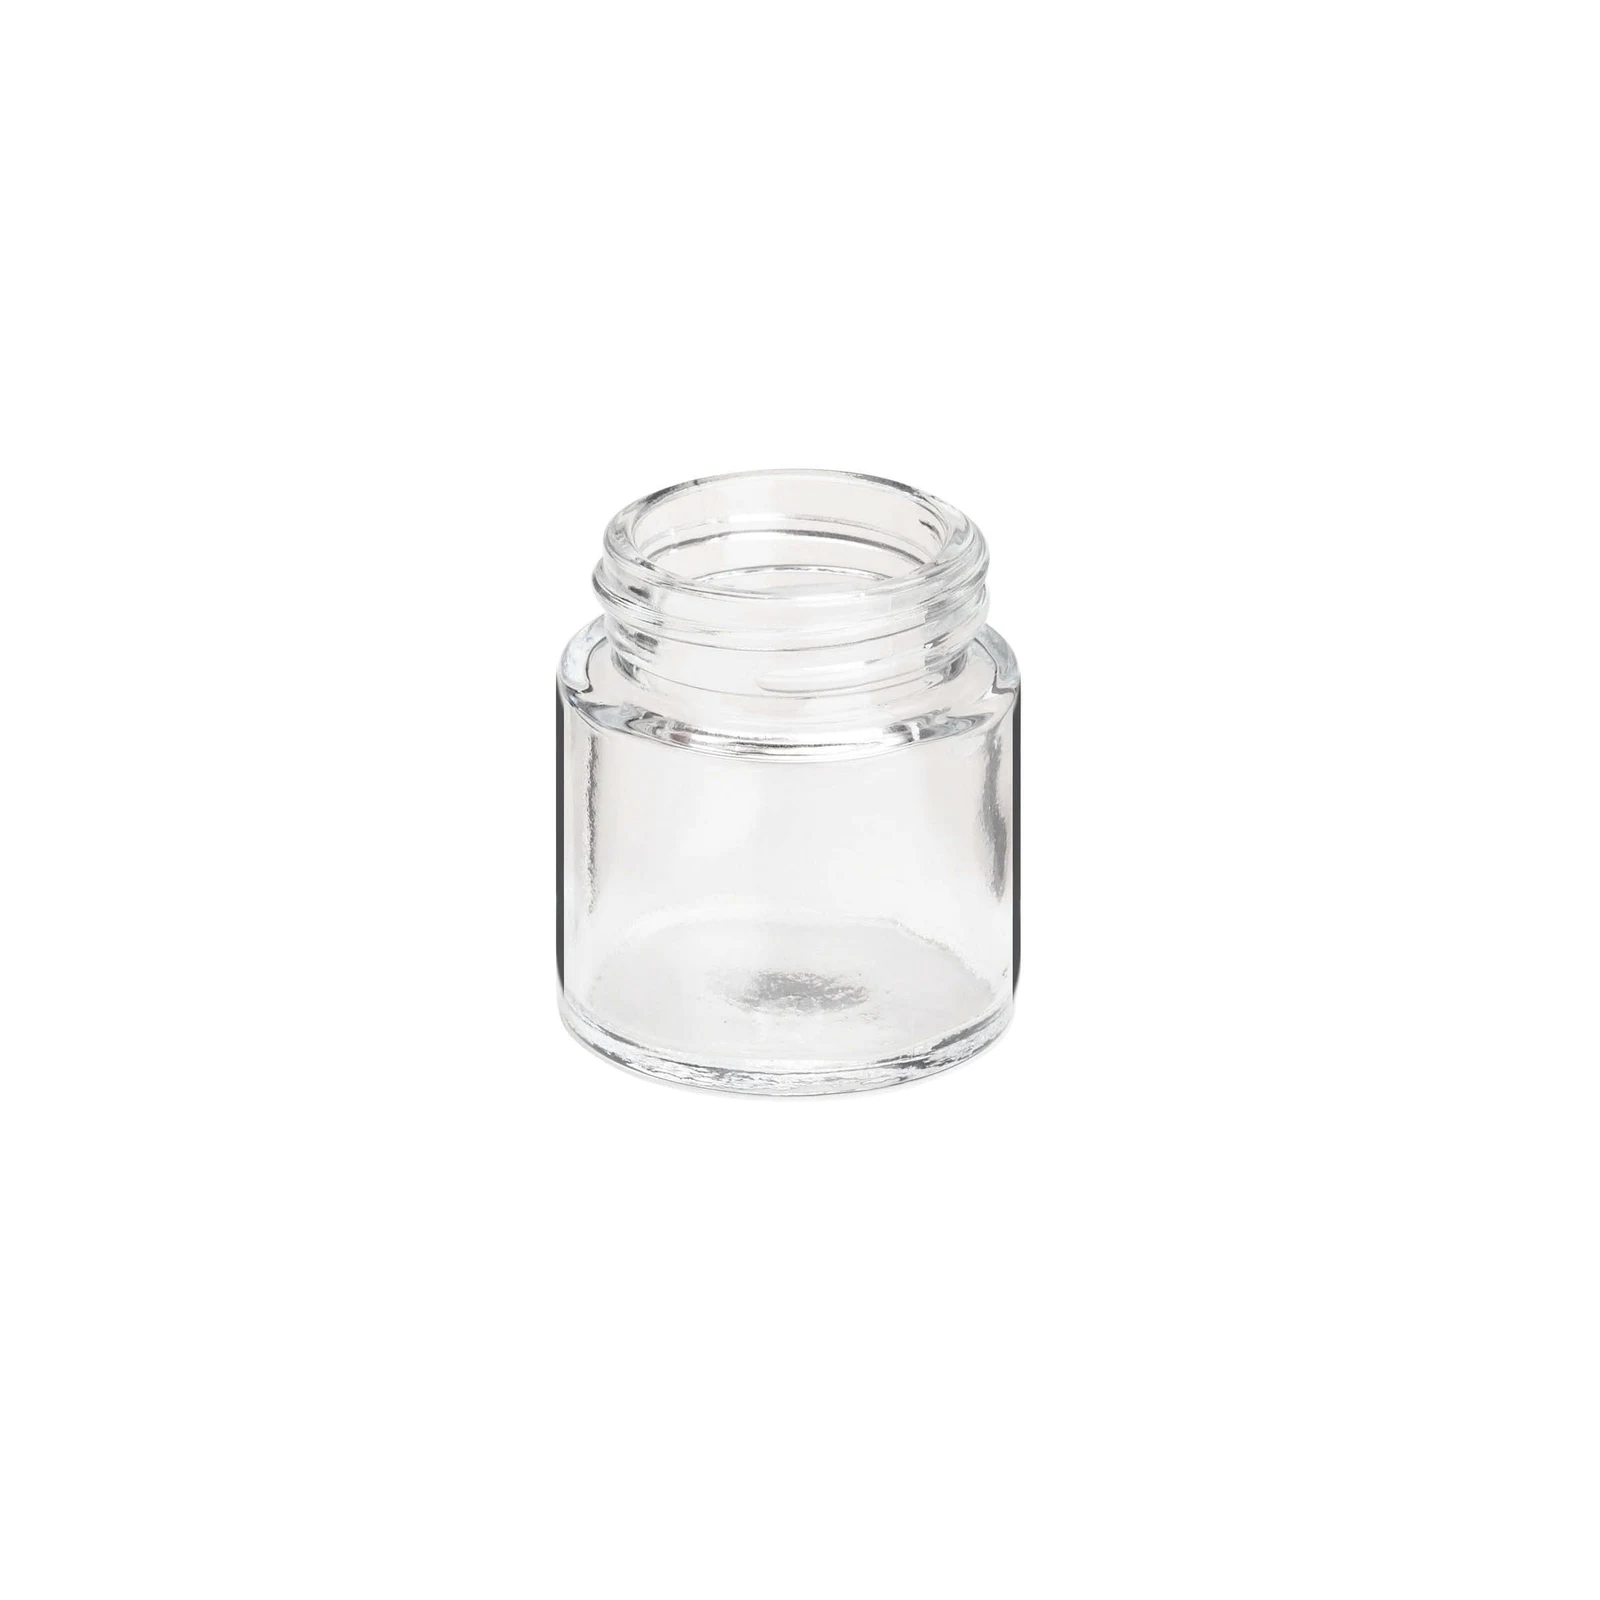
Avery recommends preparing a clean, dry surface before applying any pressure-sensitive label, and that principle applies directly to cannabis jar operations. In practice, surface prep means removing every residue that could block glue contact. This includes mold-release agents from the glass manufacturer, fingerprint oils from handling, dust from storage, and condensation from cold environments.
Use the cleaning method approved for your jar surface and label stock. Ask the jar and label suppliers before you choose a solvent, especially on coated or decorated glass. Keep the work area safe and follow the cleaner’s use instructions. Let the surface dry fully. A fixed wait such as 30 seconds is not a reliable rule for every cleaner or room. Check the surface rather than guessing from the clock.
Record your cleaning method in your test log. If you change suppliers or switch to a different glass finish later, keep your baseline cleaning step consistent. That way you can isolate the new variable when something changes.
Avery's placement guide emphasizes that a clean, dry surface is the foundation of a reliable bond. Use your label supplier's own instructions for your specific material and test conditions before judging the result.
Matching Label Material to the Jar Surface
Not every label stock bonds equally well to every jar surface. Pressure-sensitive labels have three layers: a face stock (the printed layer), an glue layer, and a liner. The glue is engineered for specific surface energies, temperatures, and placement conditions. Using a poorly matched glue for your jar and conditions is one possible source of label adhesion failure that cleaning alone cannot fix.
For glass cannabis jars, a permanent acrylic glue on a polypropylene or polyester face stock is a common starting point. Polypropylene face stocks are flexible and conform to curved surfaces more easily than polyester. Polyester is more tear-resistant but can resist conforming on narrow jars.
Ask the label printer for the exact stock and glue code. Confirm the conditions for placement and the conditions for later storage. Those ranges may differ. Record the expected route from your packing room to the retail shelf. If the pack moves through a cold space, ask how to test that change with the chosen label. Use the supplier’s technical data sheet as the source for its limits.
Placement Conditions That Affect Label Adhesion
Label adhesion is affected by temperature and humidity at the time of placement, not just storage conditions afterward. Most pressure-sensitive label glues have a minimum placement temperature. Below that threshold, the glue stays stiff, does not wet out fully against the glass, and bonds at a fraction of its rated strength.
Read the minimum and maximum placement temperatures for the actual label. Do not use one generic temperature range for all label glues. Check the jar and label temperature as well as the room. A jar brought in from cold storage may need time to reach the right condition, even when the room feels warm.
Humidity matters too, but one room-humidity threshold does not predict every wet surface. A cold jar can collect moisture when it enters a warmer room. Look for this on your samples and record both room and jar conditions where you can. Wait for a dry surface and follow the supplier’s guidance before applying a label.
Log temperature and humidity during your test. Use a simple digital thermometer with a humidity sensor. This costs very little and gives you data that explains failures later.
Dwell Time and Initial Bond Strength
Pressure-sensitive label glues build strength over time after placement. This period is called dwell time. A label applied and immediately handled may peel at the edges because the glue has not yet reached its working bond strength.
A pressure-sensitive label may need time to build its bond after placement. That period depends on the exact stock, glue, surface and conditions. Ask the label printer for the recommended wait before the pack is handled or tested. Do not assume that every product reaches a fixed share of its bond strength within a set number of minutes or hours.
In your test record, note the time from label placement to the first handling step. Choose test intervals with the supplier. Compare the planned line process with the recommended wait, then inspect each group for lifting and curl. Log what changed between groups. A difference is a reason to review the process, not proof of one cause.
Checking for Seam Lifting and Edge Curl
Seam lifting refers to the glue releasing at the label edges. This typically happens at the leading edge, the trailing edge, or both vertical seams on a wrap-around label. Edge curl is a related failure where the face stock itself curls away from the glass rather than the glue releasing cleanly.
Check for seam lifting by running your fingernail lightly across each edge at the intervals you recorded. A properly bonded label resists this without any noticeable give. A label with inadequate dwell or an glue mismatch will show a small gap at the edge.
Edge curl on film labels often means the label was applied under tension. When a handler stretches the label slightly during placement, the face stock tries to return to its resting length and pulls the edges away from the glass. Train your team to apply labels without lateral tension.
Wrinkle Causes and How to Prevent Them
Wrinkles in applied labels usually trace back to one of three sources: air trapped under the label during placement, face stock that is too stiff to conform to the jar curve, or a label sized wider than the jar circumference allows.
To prevent air entrapment, apply from one edge and press progressively across the label surface. Do not lay the full label flat and press from the center. For small jars, a rubber squeegee or a folded card can help push air out before the glue sets.
If the face stock is too stiff for the jar diameter, wrinkles will appear vertically even with careful placement. This is a material selection problem, not a technique problem. A thinner or more flexible face stock usually resolves it.
Label sizing errors are less obvious than a dirty surface. Measure the jar’s usable label panel and make a paper mock-up before print approval. A wrap label may be designed to leave a gap or to overlap. Neither choice is wrong on its own. Confirm the intended seam design and whether the stock is suited to that overlap. An unplanned overlap can create a ridge or edge lift; an unwanted gap can hide part of the design. Do not infer the label size from the jar’s stated volume.
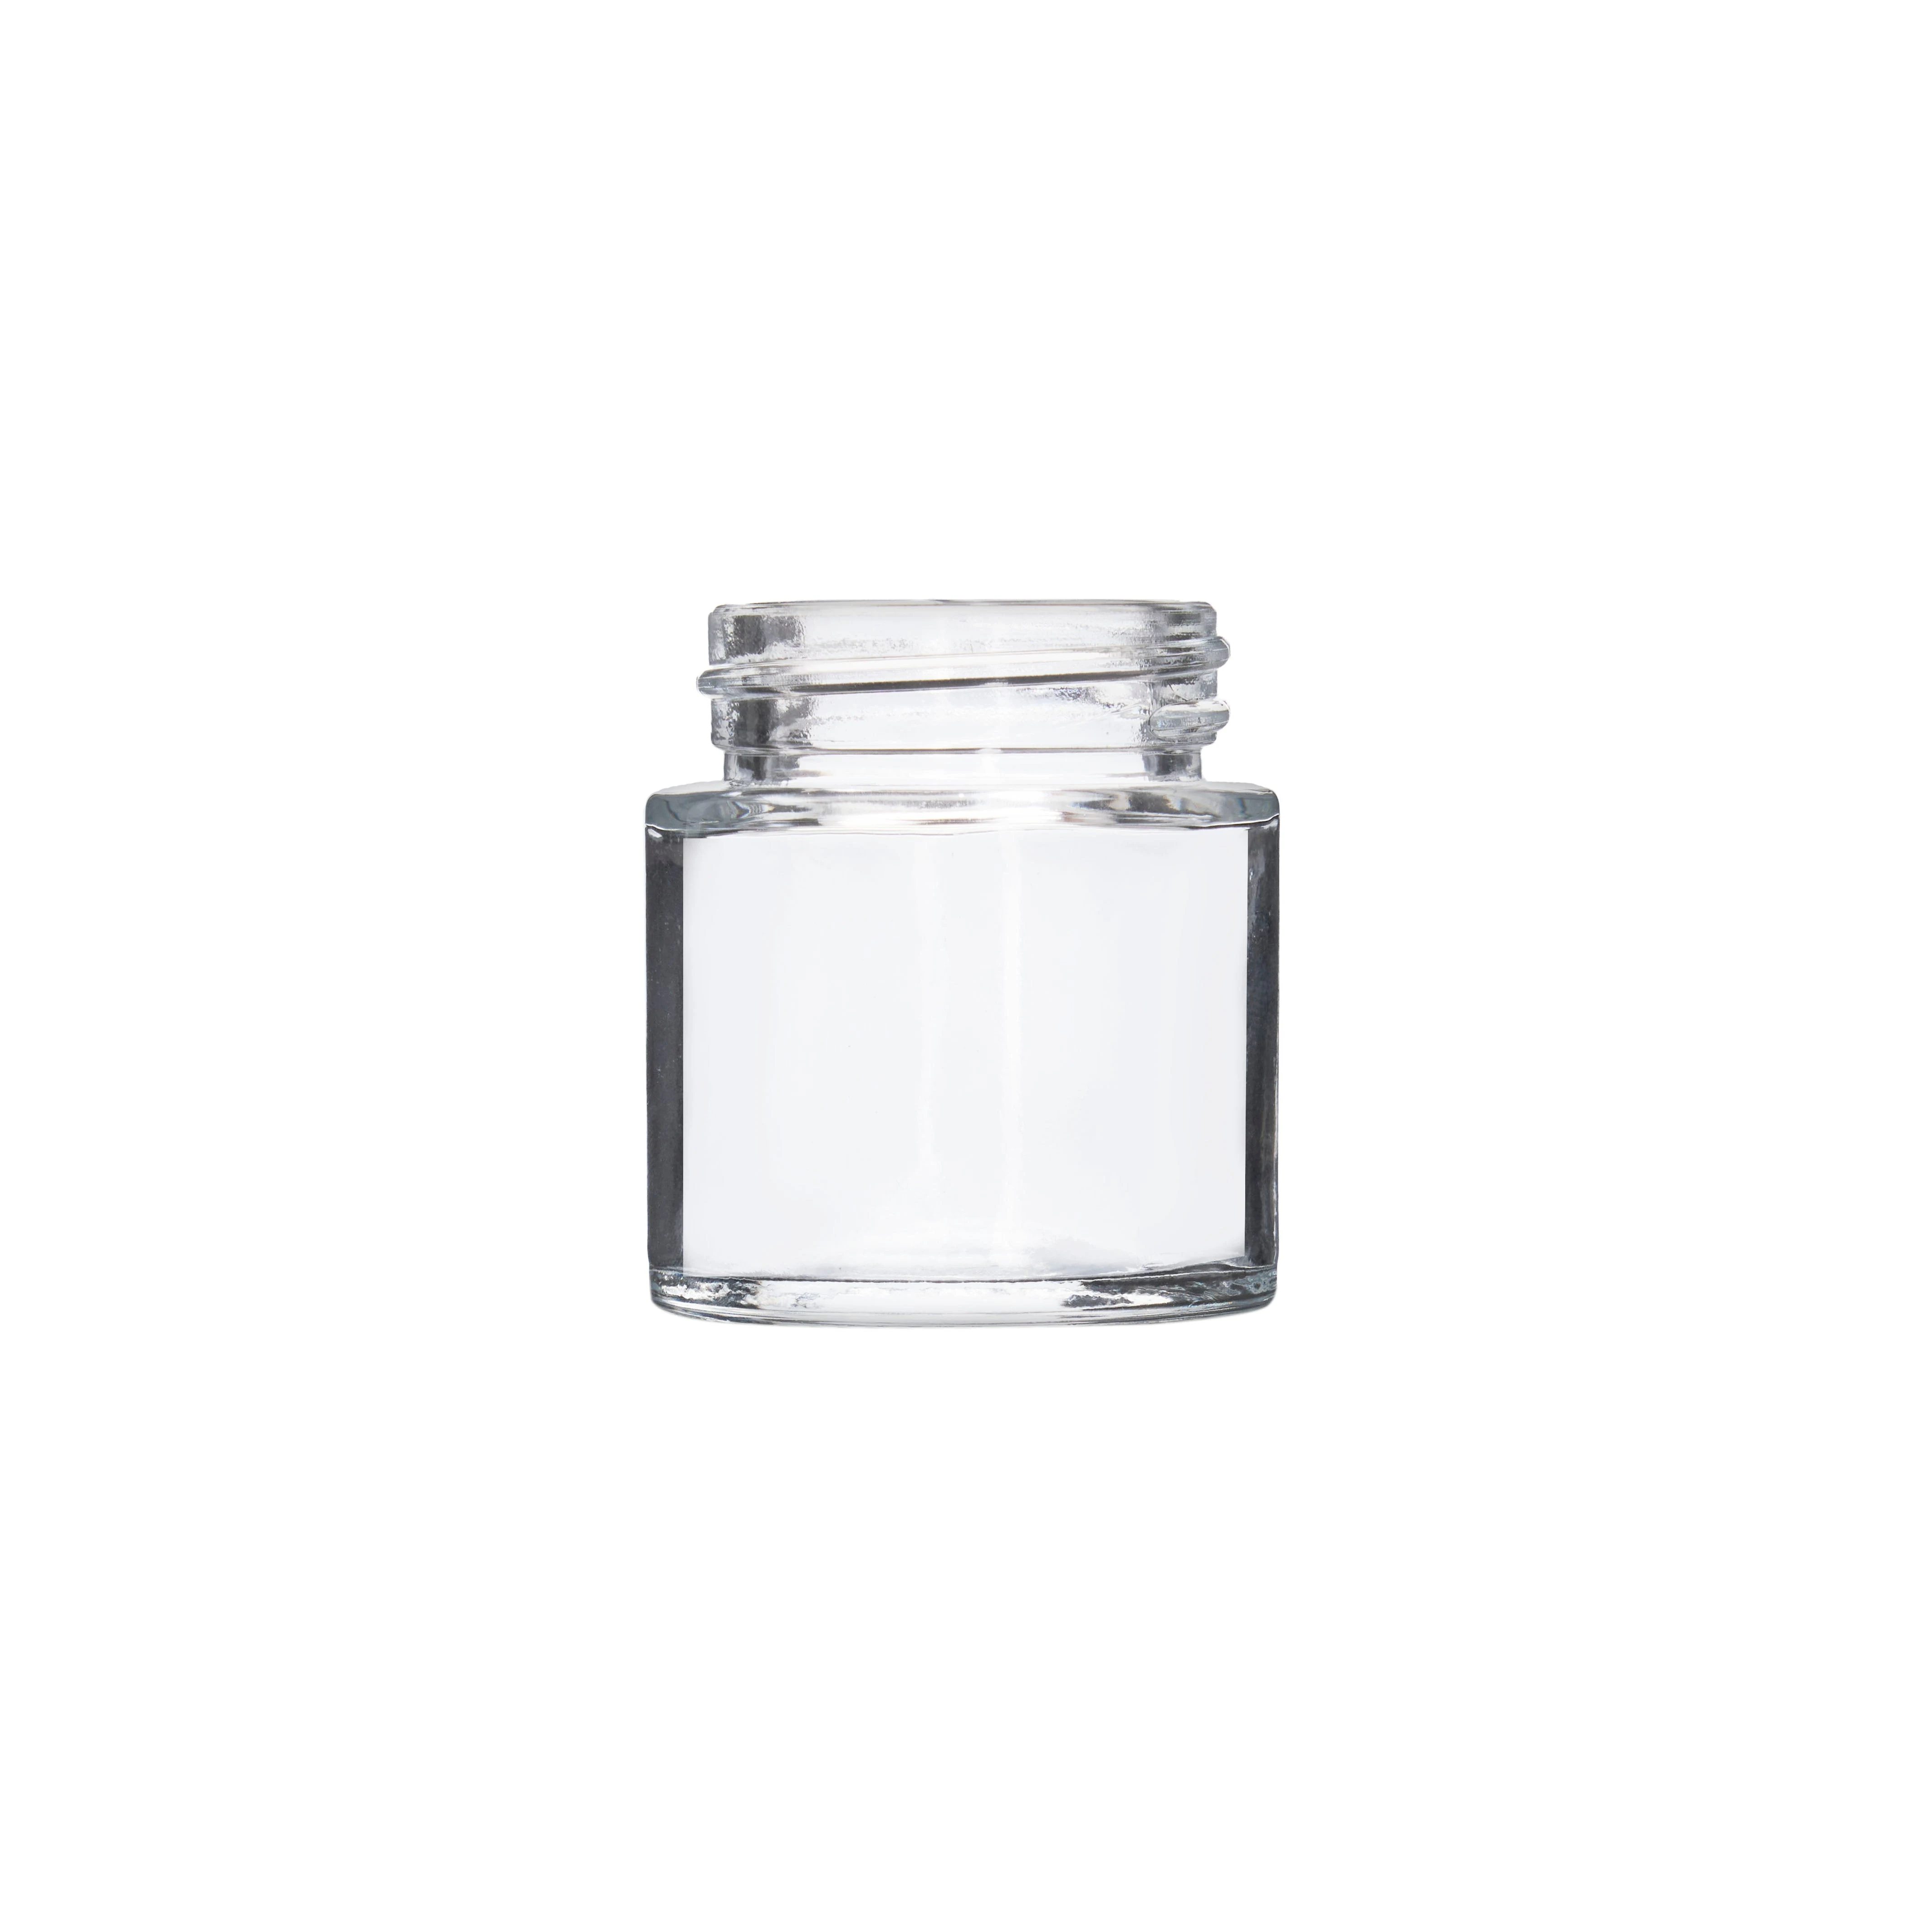
Straight-sided jars reduce this risk because the circumference stays consistent from top to bottom. The 1oz Straight Sided Clear Glass Jars format is a practical choice for operations that want a predictable label surface without taper variation.
Label Adhesion Test Record: A Practical Checklist
Use the following checklist as a template for your own test. All fields and any numbers are illustrative, not Render quotes or guaranteed outcomes.
Pre-Placement Checks
- Jar lot confirmed clean and free of visible residue
- Supplier-approved cleaning method recorded; surface confirmed dry
- Facility temperature logged (hypothetical example: 68 degrees Fahrenheit)
- Facility humidity logged (hypothetical example: 52 percent relative humidity)
- Label material spec confirmed with printer (face stock type, glue code)
Placement Checks
- Label applied without lateral tension
- Air removed by pressing from one edge outward
- Seam or overlap position noted
Dwell Time Tests
- Group A: planned handling time recorded
- Group B: supplier-recommended wait before handling
- Group C: agreed longer test interval, if relevant
Post-Placement Inspection
- Seam lifting present? (yes or no, location)
- Edge curl present? (yes or no, edge direction)
- Wrinkles present? (yes or no, location and type)
- Label legibility intact across full surface?
- Adhesion result: pass, fail, or conditional
Document every failure mode and which group it appeared in. A conditional result means the label performed adequately only under specific conditions, such as extended dwell or manual placement. Note those conditions so your production team can replicate them.
Handling After Placement
Even a well-bonded label can fail if post-placement handling is rough. Common stress events include dropping jars into bins, stacking filled jars with labels in contact, running jars through a bag sealer that applies heat near the label, or exposing labels to condensation during cold storage.
Test each of these conditions during your review if they apply to your operation. Fill a set of labeled jars to your target weight and observe whether the added weight changes how the label lies against the glass. Some flexible face stocks relax under load and conform better. Others develop stress wrinkles.
If your jars will be shrink-sleeved or over-wrapped after labeling, confirm that the overwrap process does not affect the underlying label glue. These interactions are rarely a problem with glass, but they can cause lifting on plastic containers.
Selecting the Right Label Spec With Your Printer
Your label printer is the primary source of technical guidance on glue selection, face stock, and placement requirements. Before your next label order, ask them for the minimum placement temperature, the rated dwell time, and the storage temperature range for the specific glue they plan to use.
If you are sourcing labels alongside your containers, it helps to align those specs early. Render Packaging's product catalog includes container options across formats. The custom packaging service can help match label dimensions and material specs to specific jar geometries before you commit to a print run.
Run the Test Before a Bulk Order
The most practical time to run a label adhesion test is during the sample stage, before you finalize artwork and commit to a full print run. Apply test labels to the actual jar lot you intend to use, not a substitute format. Even jars from different production batches of the same SKU can have surface variation that affects adhesion.
Keep your test record on file. If a batch fails check months later and you need to trace the source, your documented baseline gives you something concrete to compare against.
Many label adhesion problems can be found with an early sample test. The variables that cause them are surface condition, material match, placement conditions, and dwell time. Test each one before production begins. Your team will spend less time re-labeling and more time shipping finished product.

