Barcode placement on cannabis packaging affects whether a scanner reads your product cleanly at intake, retail checkout, or track-and-trace verification. A misplaced or poorly contrasted barcode creates delays at every handoff. This guide gives procurement buyers a practical method for choosing placement zones, running real scanner tests, and catching problems before a bulk run ships.
Why Barcode Placement Fails on Cannabis Containers
Cannabis containers come in shapes that make barcode placement harder than flat cartons. Curved jars, narrow tubes, and small concentrate tins each reduce the usable flat area on a label. When a barcode lands on a curve, the bars distort slightly. A handheld laser scanner reads a flat plane best. Even a small warp across the bars can cause repeated misreads.
Placement also fails when a label wraps too far around a cylindrical container. The far edge of the barcode curves away from the scanner beam. A reader at 90 degrees to the container front may miss the trailing quiet zone entirely. Quiet zone refers to the blank margin on each side of a barcode that tells the decoder where the code begins and ends.
Packaging changeovers make this worse. A design that worked on one label stock may not work when you switch paper weight, finish, or adhesive. Always re-test placement after any label spec change.
GS1 Guidance as a Starting Point
GS1 US covers barcode placement as part of overall packaging requirements. Their resource at gs1us.org/small-business/packaging-that-sells is a useful starting point for how placement, quiet zones, and contrast interact on finished packs. Confirm exact numeric specifications directly with GS1 and your printer, since requirements vary by barcode type and package format.
GS1 guidance generally applies to retail barcodes such as UPC-A and EAN-13. Your state track-and-trace system may use a different symbology, such as a QR code or a Data Matrix. Each symbology has its own size minimums and quiet zone rules. Do not assume one set of rules applies to every code on your label.
Mapping Usable Barcode Placement Zones on Common Cannabis Formats
Before you place a barcode in artwork, physically measure the container. Use a caliper or ruler to find the flat or near-flat area on the front panel, back panel, and bottom. Note where the label edge falls relative to the container shoulder and base.
Straight-wall tubes offer a long, narrow cylinder. The back panel is usually the best barcode zone. It keeps the front panel cleaner for brand copy. On a tube that is 25 mm wide, a standard UPC-A at minimum size may span nearly the full width. Leave the required quiet zone on each side inside the label boundary, not just inside the printed area.
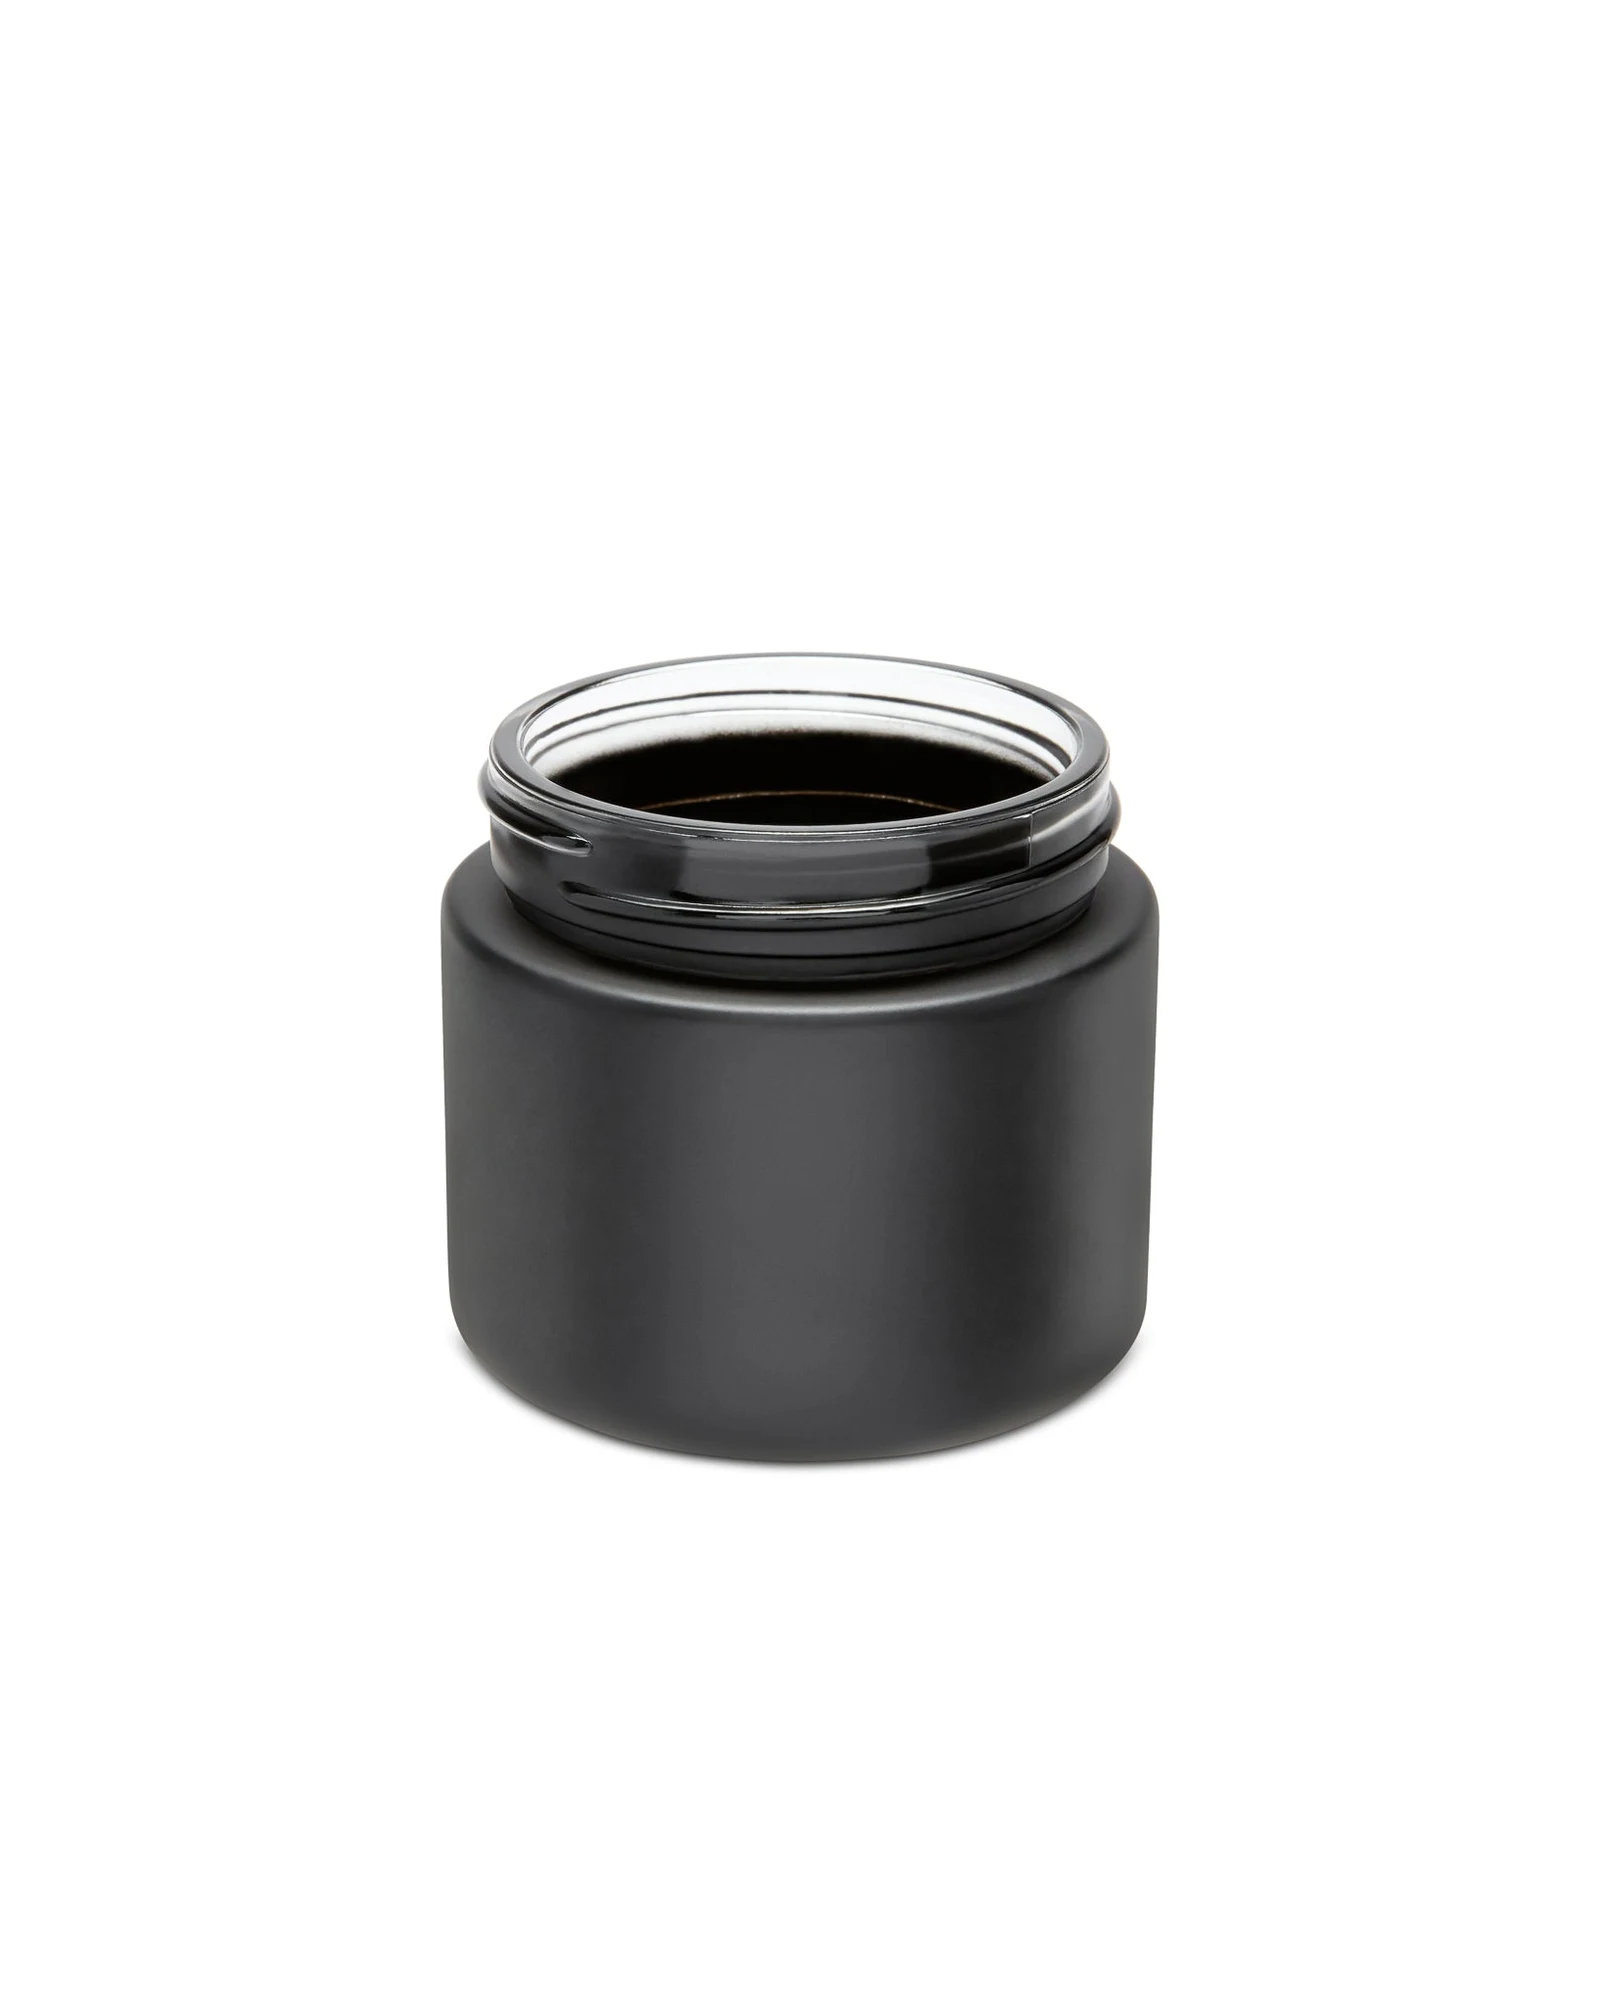
Wide-mouth jars offer a flat bottom and a curved sidewall. Sidewall placement works when the barcode spans no more than roughly one-third of the circumference. Beyond that, the curvature distorts the bars enough to cause intermittent reads. Bottom placement avoids curve distortion but creates problems at retail where jars sit label-down on shelves.
Small concentrate containers are the hardest case. A 7 mL jar lid may offer less printable area than a standard UPC-A requires at minimum size. In that situation, buyers often use a Data Matrix or QR code, which encodes the same data in a much smaller footprint. Confirm with your compliance reviewer which symbologies your state system accepts before switching formats.
Contrast, Color, and Label Material
Barcode placement is only one variable. A correctly placed barcode on a low-contrast label still fails. Scanners read the difference in light reflection between bars and spaces. Dark bars on a white or light background give the highest contrast. Common problems in cannabis label design include dark backgrounds with bars that are only slightly darker, and metallic or pearlescent stocks that scatter the scanner beam.
Matte white label stock generally gives more reliable scan results than gloss or foil. Gloss reflects ambient light back at the scanner, which the reader can misinterpret as a bar. If your label calls for a premium finish, consider printing the barcode zone on a matte patch within a gloss label, or leave the barcode area unlaminated.
Ink coverage matters too. Solid black bars printed at the correct density read cleanly. Bars with ink spread, also called dot gain, become wider than intended. The decoder may then read a different symbol or return a no-read error. Request a proof with barcode magnification noted, and measure bar width on the actual printed sheet before approving.
Barcode Placement Checklist Before Artwork Sign-Off
Run through this list when reviewing any new cannabis label layout.
- Identify every barcode on the label and note its symbology (UPC-A, EAN-13, QR, Data Matrix, Code 128, etc.)
- Confirm minimum size requirements with GS1 or your state track-and-trace authority for each symbology
- Measure the quiet zone on all four sides, or both sides for linear codes, and verify it falls inside the printed label area, not just the container
- Check that no design element, fold line, seam, or label edge intrudes into any quiet zone
- Confirm bar-to-background contrast is sufficient, with dark bars on a light background as a baseline
- Verify the barcode does not span a curved section beyond the usable flat zone for that container
- Check placement on both the physical mockup and the digital dieline, since corners and curves read differently on screen vs. in hand
- Confirm with your compliance reviewer that barcode type and data content meet state system requirements
A Hypothetical Placement Test Record
The following test plan is hypothetical. It gives a buyer a clear way to record a comparison, without claiming test results or setting a barcode size standard.
Suppose a team is preparing a label for a round pre-roll tube. The usable area curves around the tube. It is not a flat panel. A seam takes up part of the wrap, and the cap covers part of the top edge.
Ask the printer for two candidate layouts that meet the requirements for the chosen code type. Confirm the symbol dimensions and blank quiet zones with the printer and current GS1 guidance. Do not infer an allowed minimum size from a jar or tube diameter.
Layout A: The code sits near the wrap seam. Mark the gap between the code and seam on the sample.
Layout B: The code sits farther from the seam. Record how the curve and label edges affect this position.
Print both layouts on the planned stock and apply them to the actual tube. Use the scanner and product record that the retail partner expects to use. Keep the light, scan distance and handling steps the same for both samples.
Record the code type, print file version, scanner model, test date and operator. Note missed reads and whether a curve, wrinkle, glare band or seam crosses the code. Keep photos of both samples beside the results. Repeat the check after normal handling.
A successful scan is useful evidence, but it does not prove that a code meets every print-quality rule. Arrange the required barcode verification and retail review before approving the final print file. Use the results to choose or revise a layout, then keep the approved sample as the reference.
Testing Barcode Placement on Physical Samples
Order physical samples before approving any new label or container combination. A fit check using actual printed labels on real containers lets you run scanner tests under conditions that match your operation.
Test with the scanner type your retail partners and intake team actually use. Handheld linear scanners, 2D imagers, and fixed-mount scanners each have different depth-of-field and read-angle tolerances. A code that reads on a 2D imager may fail on an older linear scanner. If you supply dispensaries that use point-of-sale scan guns, test with that equipment.
Test in the orientation the container will actually be scanned. A jar scanned sitting upright on a counter presents the sidewall barcode at roughly 90 degrees to a handheld scanner. A tube in a display may be scanned at an angle. Rotate the container through realistic angles and record read rates at each.
Document your results. Note the container format, label stock, barcode symbology, placement zone, scanner type, distance, angle, and read rate. This record is useful when a supplier changes label stock or when you troubleshoot a problem at retail months later.
Selecting Containers That Support Good Barcode Placement
Barcode placement is easier when you start with a container that offers adequate flat panel area. When evaluating containers, look at the label panel dimensions before you finalize artwork.
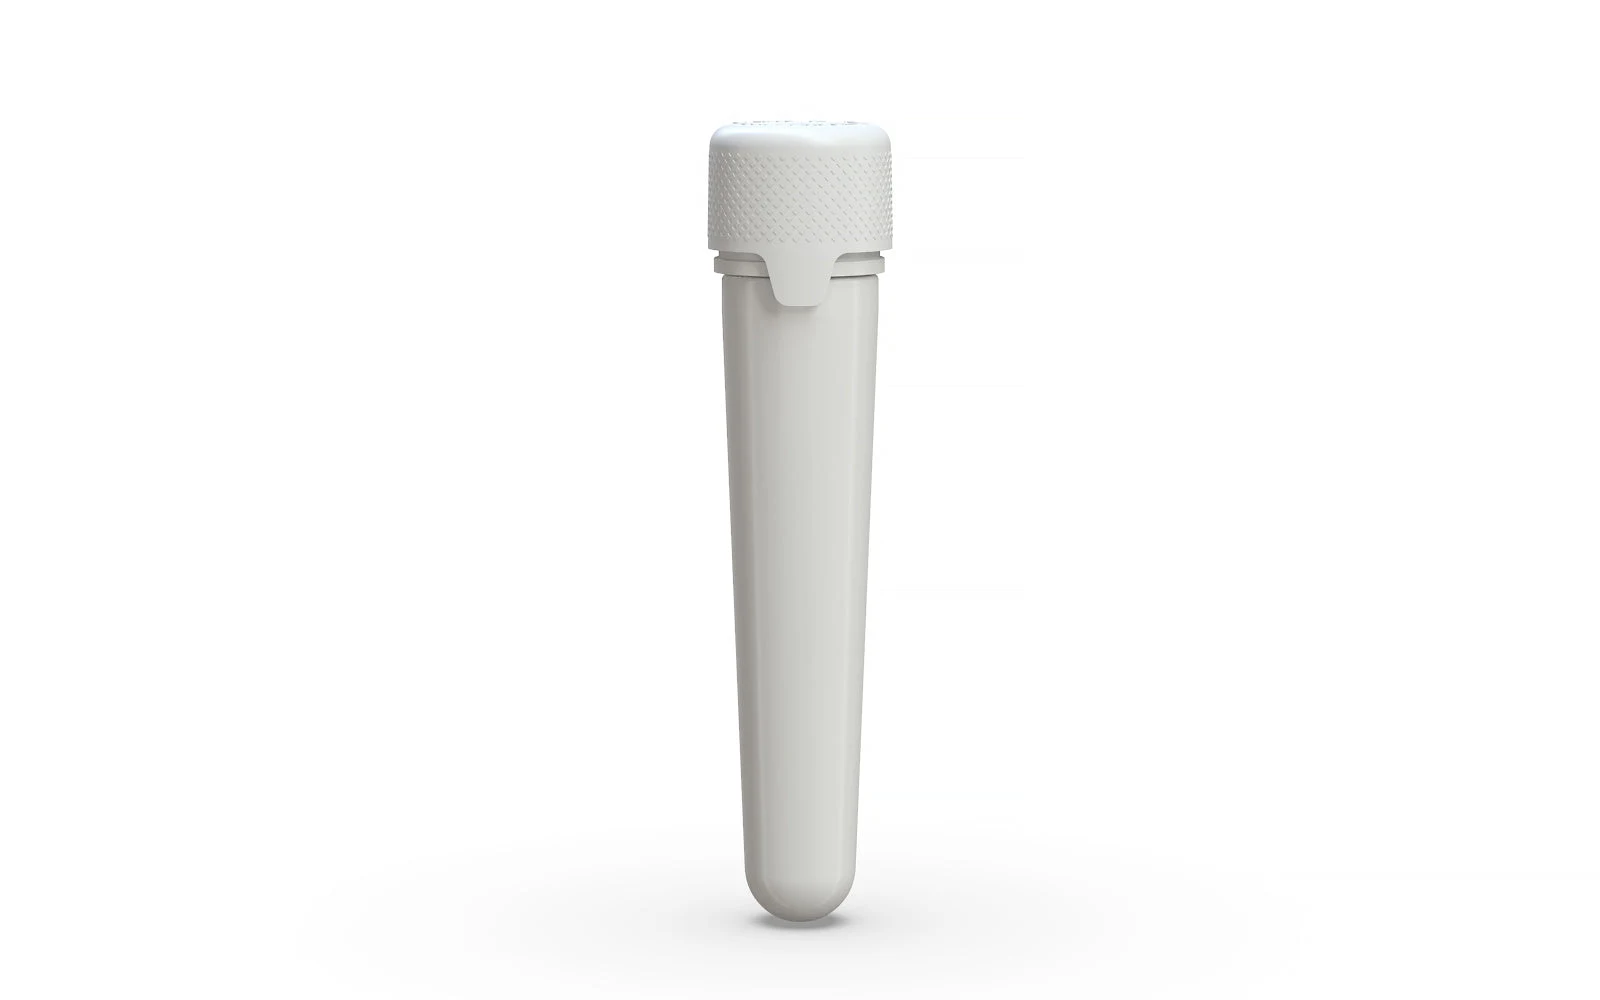
Straight-wall tubes offer a predictable flat-equivalent zone on the back panel that works well for linear barcodes. The Chubby Gorilla 25x100mm White Tube with Aviator CR White Cap is a format where buyers commonly lay out the barcode on the back panel, keeping the front panel clear for brand copy. Measure the label panel on any container you are evaluating against your barcode size requirements before ordering.
If your current container is creating placement problems, review the broader Render Packaging catalog for alternative formats. Switching to a container with a larger flat panel or a different height-to-width ratio can resolve barcode placement issues without a major label redesign.
Common Placement Tradeoffs to Resolve Before Final Artwork
Barcode placement often conflicts with other label requirements. State-mandated warning text, brand logos, ingredient lists, and compliance icons all compete for space on small cannabis containers. Resolve these tradeoffs before artwork goes to the printer.
Placing the barcode on the bottom avoids sidewall competition but creates shelf-scan problems. Placing it on a secondary panel works only if your operation can orient that panel consistently for scanning. Placing it on the front panel is reliable for scanning but may conflict with brand presentation standards your marketing team requires.
Work through these tradeoffs on a physical mockup, not just in design software. Print a draft label at actual size, apply it to the actual container, and scan it. Adjust placement based on the scan result, not based on what looks balanced on screen.
If you are designing custom packaging from the ground up, define barcode placement requirements before finalizing container dimensions. Packaging designed around the label is easier to scan than a label forced to fit a container it was not designed for. Explore Render's custom packaging options if your current container format is creating persistent barcode placement problems.
Next Steps for Procurement Buyers
Audit your current SKUs. Pull one sample of each container and scan every barcode on the label with the scanner type your team and retail partners actually use. Record the read rate. Any SKU returning less than consistent reads is a candidate for label redesign or placement adjustment.
Bring your dielines and container samples to your label printer before the next order. Ask them to verify quiet zones against the actual label dimensions, not just the artwork file. Confirm barcode placement requirements with GS1 and your state compliance reviewer so your next label run is correct the first time.

