

Receiving wholesale packaging correctly is one of the most important steps in your buying workflow. A missed short count, an unlogged damage claim, or a mismatched SKU can stall production and cost you time you do not have. This guide walks through each stage of a receiving check, from pulling your purchase order to logging mismatches with your supplier.
Why the Receiving Step Matters More Than Most Buyers Expect
Many buying teams treat receiving as a logistics task rather than a quality gate. That assumption is costly. Once product moves into your racking system and cases are broken open, it becomes much harder to prove how damage occurred or when a shortage happened. A disciplined receiving workflow protects your stock records, supports supplier follow-through, and keeps your packaging line on schedule.
The stakes are higher in cannabis packaging because every part must match your approved bill of materials before it touches product. A bill of materials, or BOM, lists every packaging part tied to a finished SKU. That includes the container, closure, liner, and label. A receiving check is your last clean chance to catch a swap or a spec drift before it causes a problem downstream.
Before the Shipment Arrives: Pull Your Purchase Order
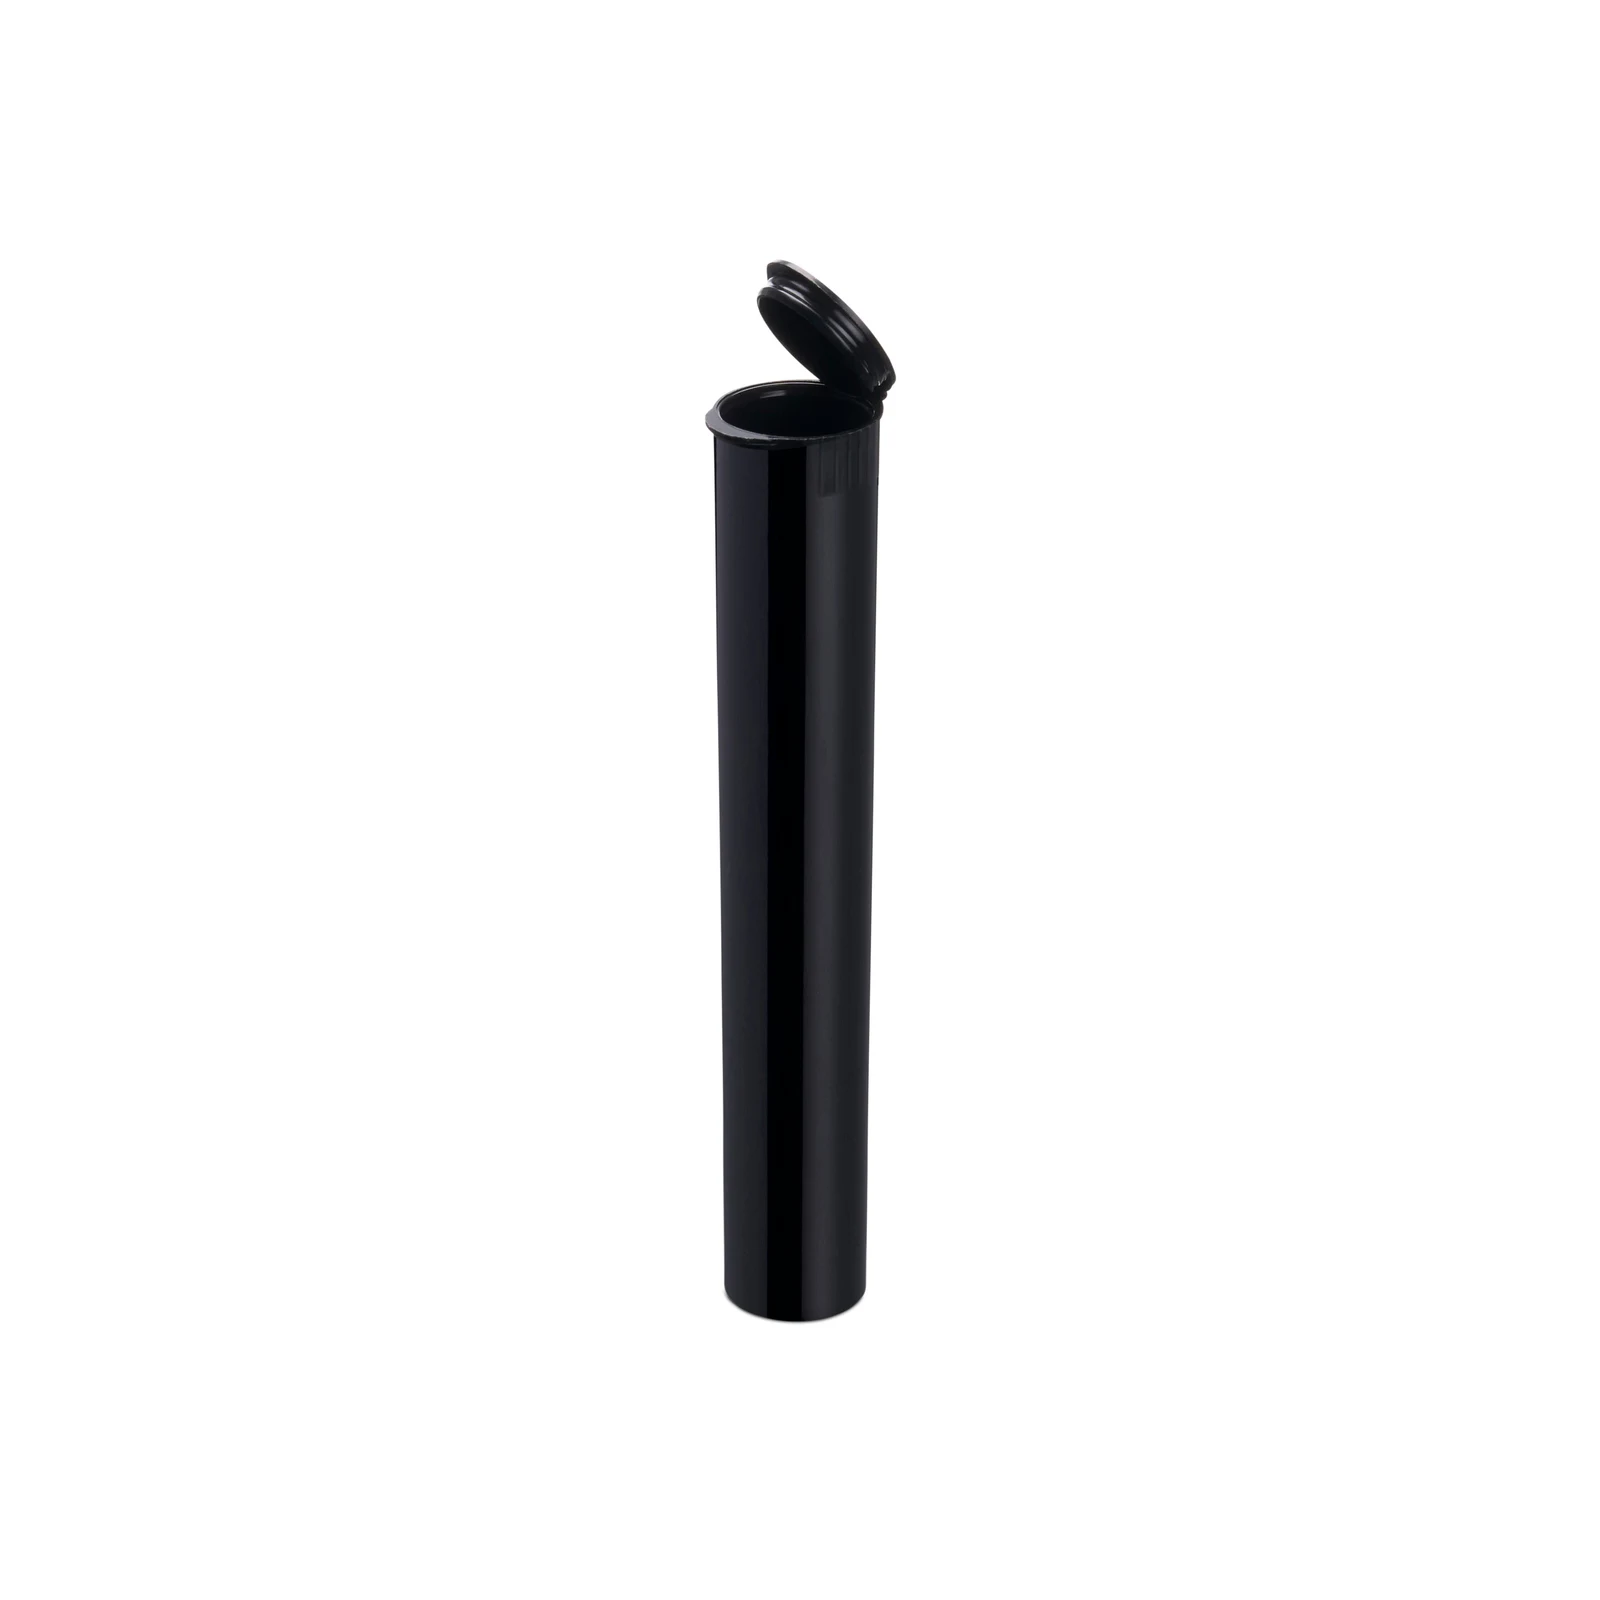
Do this before the truck backs up to the dock. Open the purchase order, or PO, that triggered the shipment and display the line items clearly. Your PO should list each SKU, the ordered count, the unit of measure, and any agreed specifications such as material, color, or closure type.
Compare the PO against any advance shipping notice your supplier sent. An advance shipping notice, or ASN, is a document the supplier generates before shipment that lists what was actually packed. Mismatches between the PO and the ASN should be flagged before you sign anything. If you did not receive an ASN, note that gap in your receiving log.
Matching the Packing Slip to Your Purchase Order
The packing slip arrives with the shipment, usually in a clear pouch on the outside of the first pallet. This document lists what the supplier claims was shipped. Your first job is to match every line on the packing slip to its corresponding PO line.
Check these fields on every line:
- SKU or item number
- Item description
- Count shipped by case and by unit
- Unit of measure
Flag any line that appears on the packing slip but not on the PO. That could mean a swap, an item you did not order, or a fulfillment error. Do not accept unexpected items without written confirmation from your supplier contact.
Inspecting Cases During Receiving Wholesale Packaging
Now move to the physical pallet. Before breaking down any shrink wrap, walk the pallet and look at the outer cases from every accessible angle. Look for these visible signs of transit damage:
- Crushed corners or edges
- Water staining or tide marks
- Punctures or tears in case walls
- Leaning or collapsed stack patterns
Set aside any damaged case and photograph it before opening. Do not discard damaged outer cases or inner packaging materials. Carriers generally require you to keep original packaging intact while a damage claim is being resolved. FedEx states this requirement in its claims guidance; the same principle applies broadly across major carriers. Check your specific carrier's current requirements and retain all damaged materials until your claim is closed.
After your visual check, record which pallet positions held damaged cases. Use simple notation such as pallet 2, row 3, cases 4 and 5. This location record helps show that damage was not caused by your own handling.
Case Label Check
Each case should carry a label identifying the contents. Compare the case label to the corresponding PO line before opening anything. A case label should include the item name or description, the SKU, the case pack count such as 24 units per case, and ideally a lot or batch number.
If case labels are missing, illegible, or do not match the SKU on the packing slip, treat those cases as unverified. Opening an unlabeled case and assuming it matches a PO line is a common source of stock error.
Sampled Count Method for High-Volume Shipments
Counting every unit in a large wholesale packaging order is not always practical. A sampled count gives you a useful check without a full unit-by-unit tally.
Here is a practical approach. Select cases at random from different pallet positions. Aim for at least ten percent of total cases, or a minimum of five cases, whichever is larger. Open each selected case and count units one by one. Record the expected count from the case label and the actual count you observed.
Hypothetical example: You receive a pallet of 48 cases, each labeled as containing 24 clear glass jars. You sample six cases. Four cases hold exactly 24 units. One case holds 22 units. One case holds 25 units. Your sample shows a net shortage of one unit across six cases. You would note this and apply the ratio to estimate likely variance across the full pallet. This does not replace a full count for high-value or high-mismatch shipments, but it gives you a documented basis for a supplier conversation.
Record your sampled count results in writing. Include the case identifiers you pulled, the expected and actual counts, and the date and name of the person who counted.
Checking Part Match and SKU Accuracy
Receiving wholesale packaging is not only about count. You also need to confirm that what arrived is actually what you ordered. This matters most for multi-part sets where a jar, lid, and liner must all work together.
For each SKU in the shipment, verify:
- Material and color match the approved spec, such as clear glass versus amber glass
- Closure type matches the corresponding container opening size
- Liner or insert is included if it was part of the order
- Label stock matches the specified face material and adhesive type if labels were ordered
Pull one unit from a sampled case and compare it to your approved sample or spec sheet. If you ordered 18oz straight-sided clear glass jars and the arriving units appear hazy or have a different base diameter than your spec sample, log that mismatch before any units enter your racking system.
Do not assume a matching SKU number on a case label guarantees a matching product. Spec changes can occur at the supplier level without always triggering a proactive buyer notification.
Damage Records: What to Capture and How
Keep the box and its packing while you check a damage claim. FedEx’s claim guide gives this advice too. Check the rules for the carrier shown on your order.
If you find damage during receiving wholesale packaging, thorough records is your protection. Incomplete records are the most common reason damage claims stall or are denied.
Capture the following for every damage incident:
- Date and time of discovery
- Carrier name and tracking or PRO number
- Pallet or case position where damage was found
- Nature of damage such as crushed, cracked, wet, or contaminated
- Number of units affected
- Photographs of the outer case, inner pack, and damaged units together
- Name of the receiving staff member who documented the damage
Retain all original packaging materials, including the outer shipper case, inner cushioning, and any dunnage, until your carrier claim is filed and closed. Log every damage event in a shared receiving document, not a personal notebook. Suppliers and carriers will ask for this record.
The Receiving Checklist for Wholesale Packaging
Use this checklist for every inbound wholesale packaging shipment.
Before unloading:
- PO pulled and line items confirmed
- ASN compared to PO if available
- Packing slip retrieved from shipment
During physical check:
- Pallet condition assessed before shrink wrap removal
- Visible damage photographed and case positions recorded
- Case labels verified against PO SKUs
- Damaged outer cases retained and set aside
During count and check:
- Sampled cases selected from multiple pallet positions
- Unit counts recorded per sampled case
- Count results compared to packing slip counts
- Mismatch ratio calculated if applicable
During part check:
- Physical units compared to approved spec or sample
- Closure and container match verified
- Liner or insert presence confirmed where applicable
- Any spec deviation flagged in writing
After receiving:
- Receiving log updated with all findings
- Supplier notified promptly of any shortage or mismatch
- Carrier claim initiated for any transit damage
- Accepted stock entered into your system with correct counts
Communicating Mismatches to Your Supplier
Speed and specificity both matter here. Contact your supplier as soon as you have documented findings, not days later when memories fade and products may have moved. Your message should include the PO number, the specific SKU or SKUs affected, the nature and count of the mismatch, and the records you have gathered.
Be clear about what you need. State whether you are asking for replacement units, a credit, a revised packing slip, or written confirmation that a swap was authorized. Vague dispute messages slow resolution. A message that says there was a problem with our order is far less effective than one that says PO 4821, SKU RJ-18CL, packing slip shows 576 units, our count shows 552 units, see attached photos.
Keep a log of all supplier communications about the mismatch. Record dates, the name of the contact you spoke with, and what was agreed. This record supports escalation if the issue is not resolved promptly.
Building a Steady Receiving Process Over Time
A single careful receiving check is useful. A steady process applied across every inbound shipment is what actually protects your stock and your production schedule. Train every team member who touches inbound freight to follow the same steps in the same order.
Review your receiving log monthly and look for patterns. Hypothetically, if one supplier SKU generates a short count in roughly one out of every four shipments, that is a conversation to have with your account contact before it affects a product launch.
Accurate receiving records also support better purchasing decisions. When you know the actual unit yield from past shipments, you can set smarter reorder points and avoid emergency spot buys.
If you are building out your wholesale packaging program or expanding your SKU range, browse the Render Packaging product catalog or explore custom packaging options to find parts that fit your approved specs before your next PO goes out.

